In this tutorial, we will show you how to install and run
Blender, the free open-source ray-tracing image renderer, onto a Scalable Compute node. We will demonstrate from a Windows machine, using MobaXTerm as our terminal window and file transfer client.
First, we start by
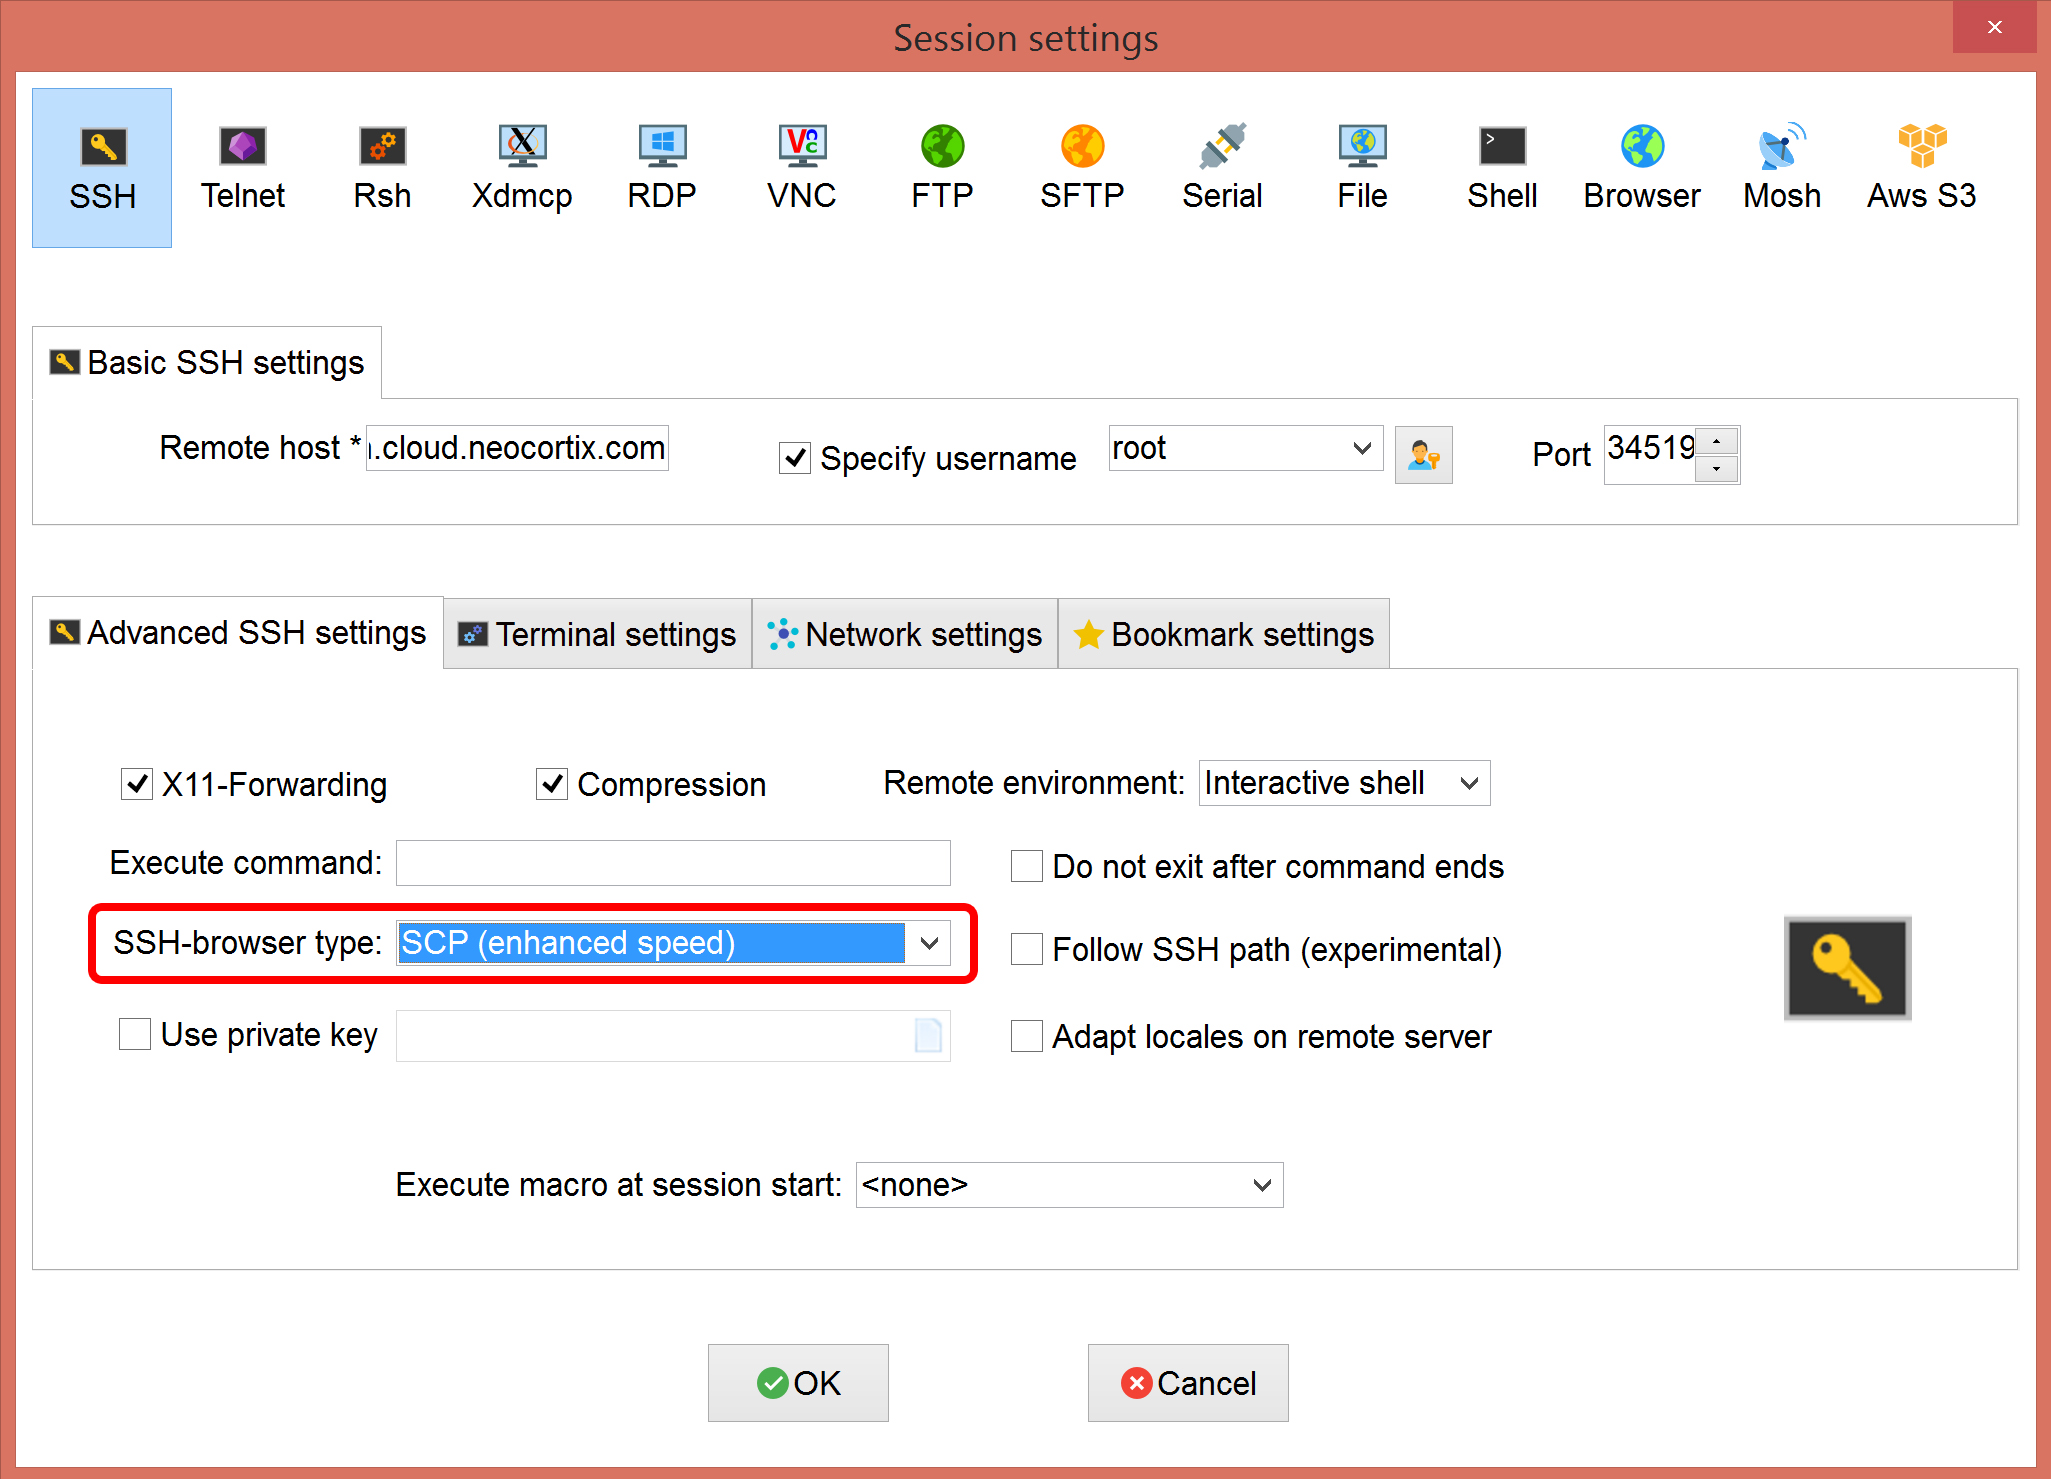
Launching A Single Node (Web Interface), using the instructions in the previous tutorial, and using the MobaXTerm terminal window, to allow you to transfer your rendered images. Make sure your MobaXTerm terminal is set to use SCP protocol, as shown below in Red:
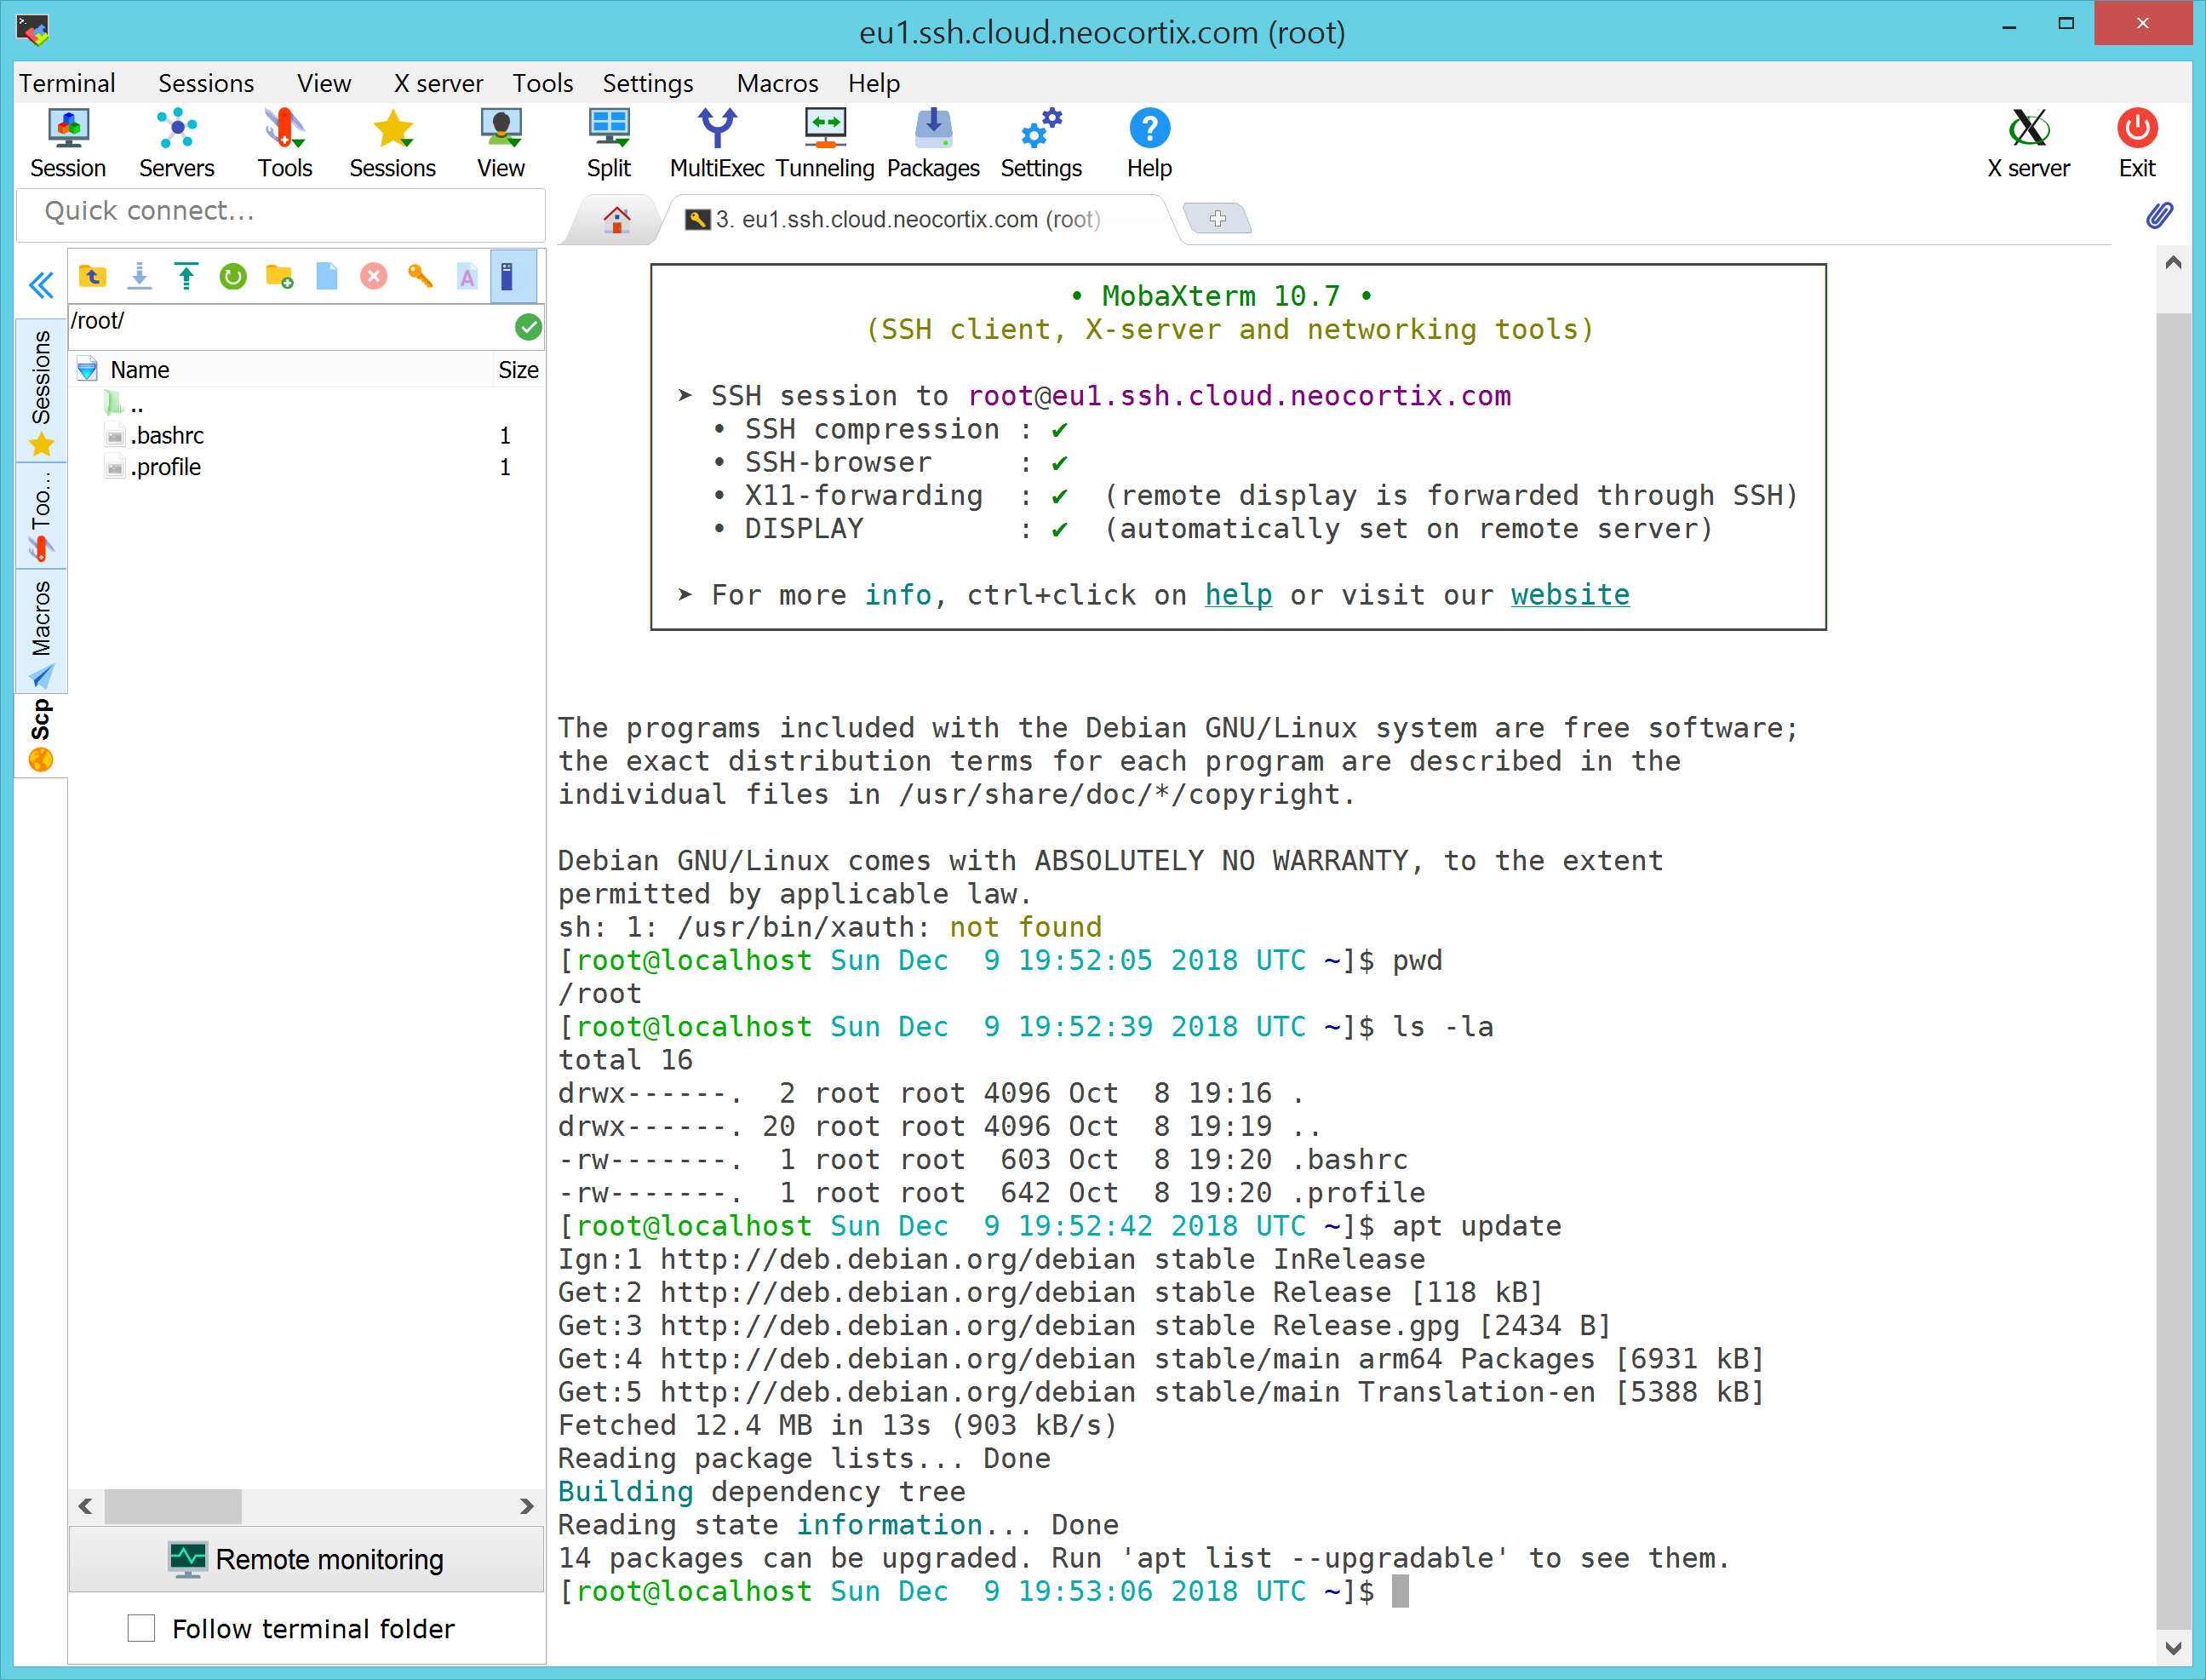
Here is how it looks when we have launched the node and connected to it using MobaXTerm:
You will be logged in as root, in the /root directory.
You will install Blender, to render your images. In the terminal window (right pane of MobaXTerm), execute the following commands (entering Y when prompted):
apt update
apt install blender
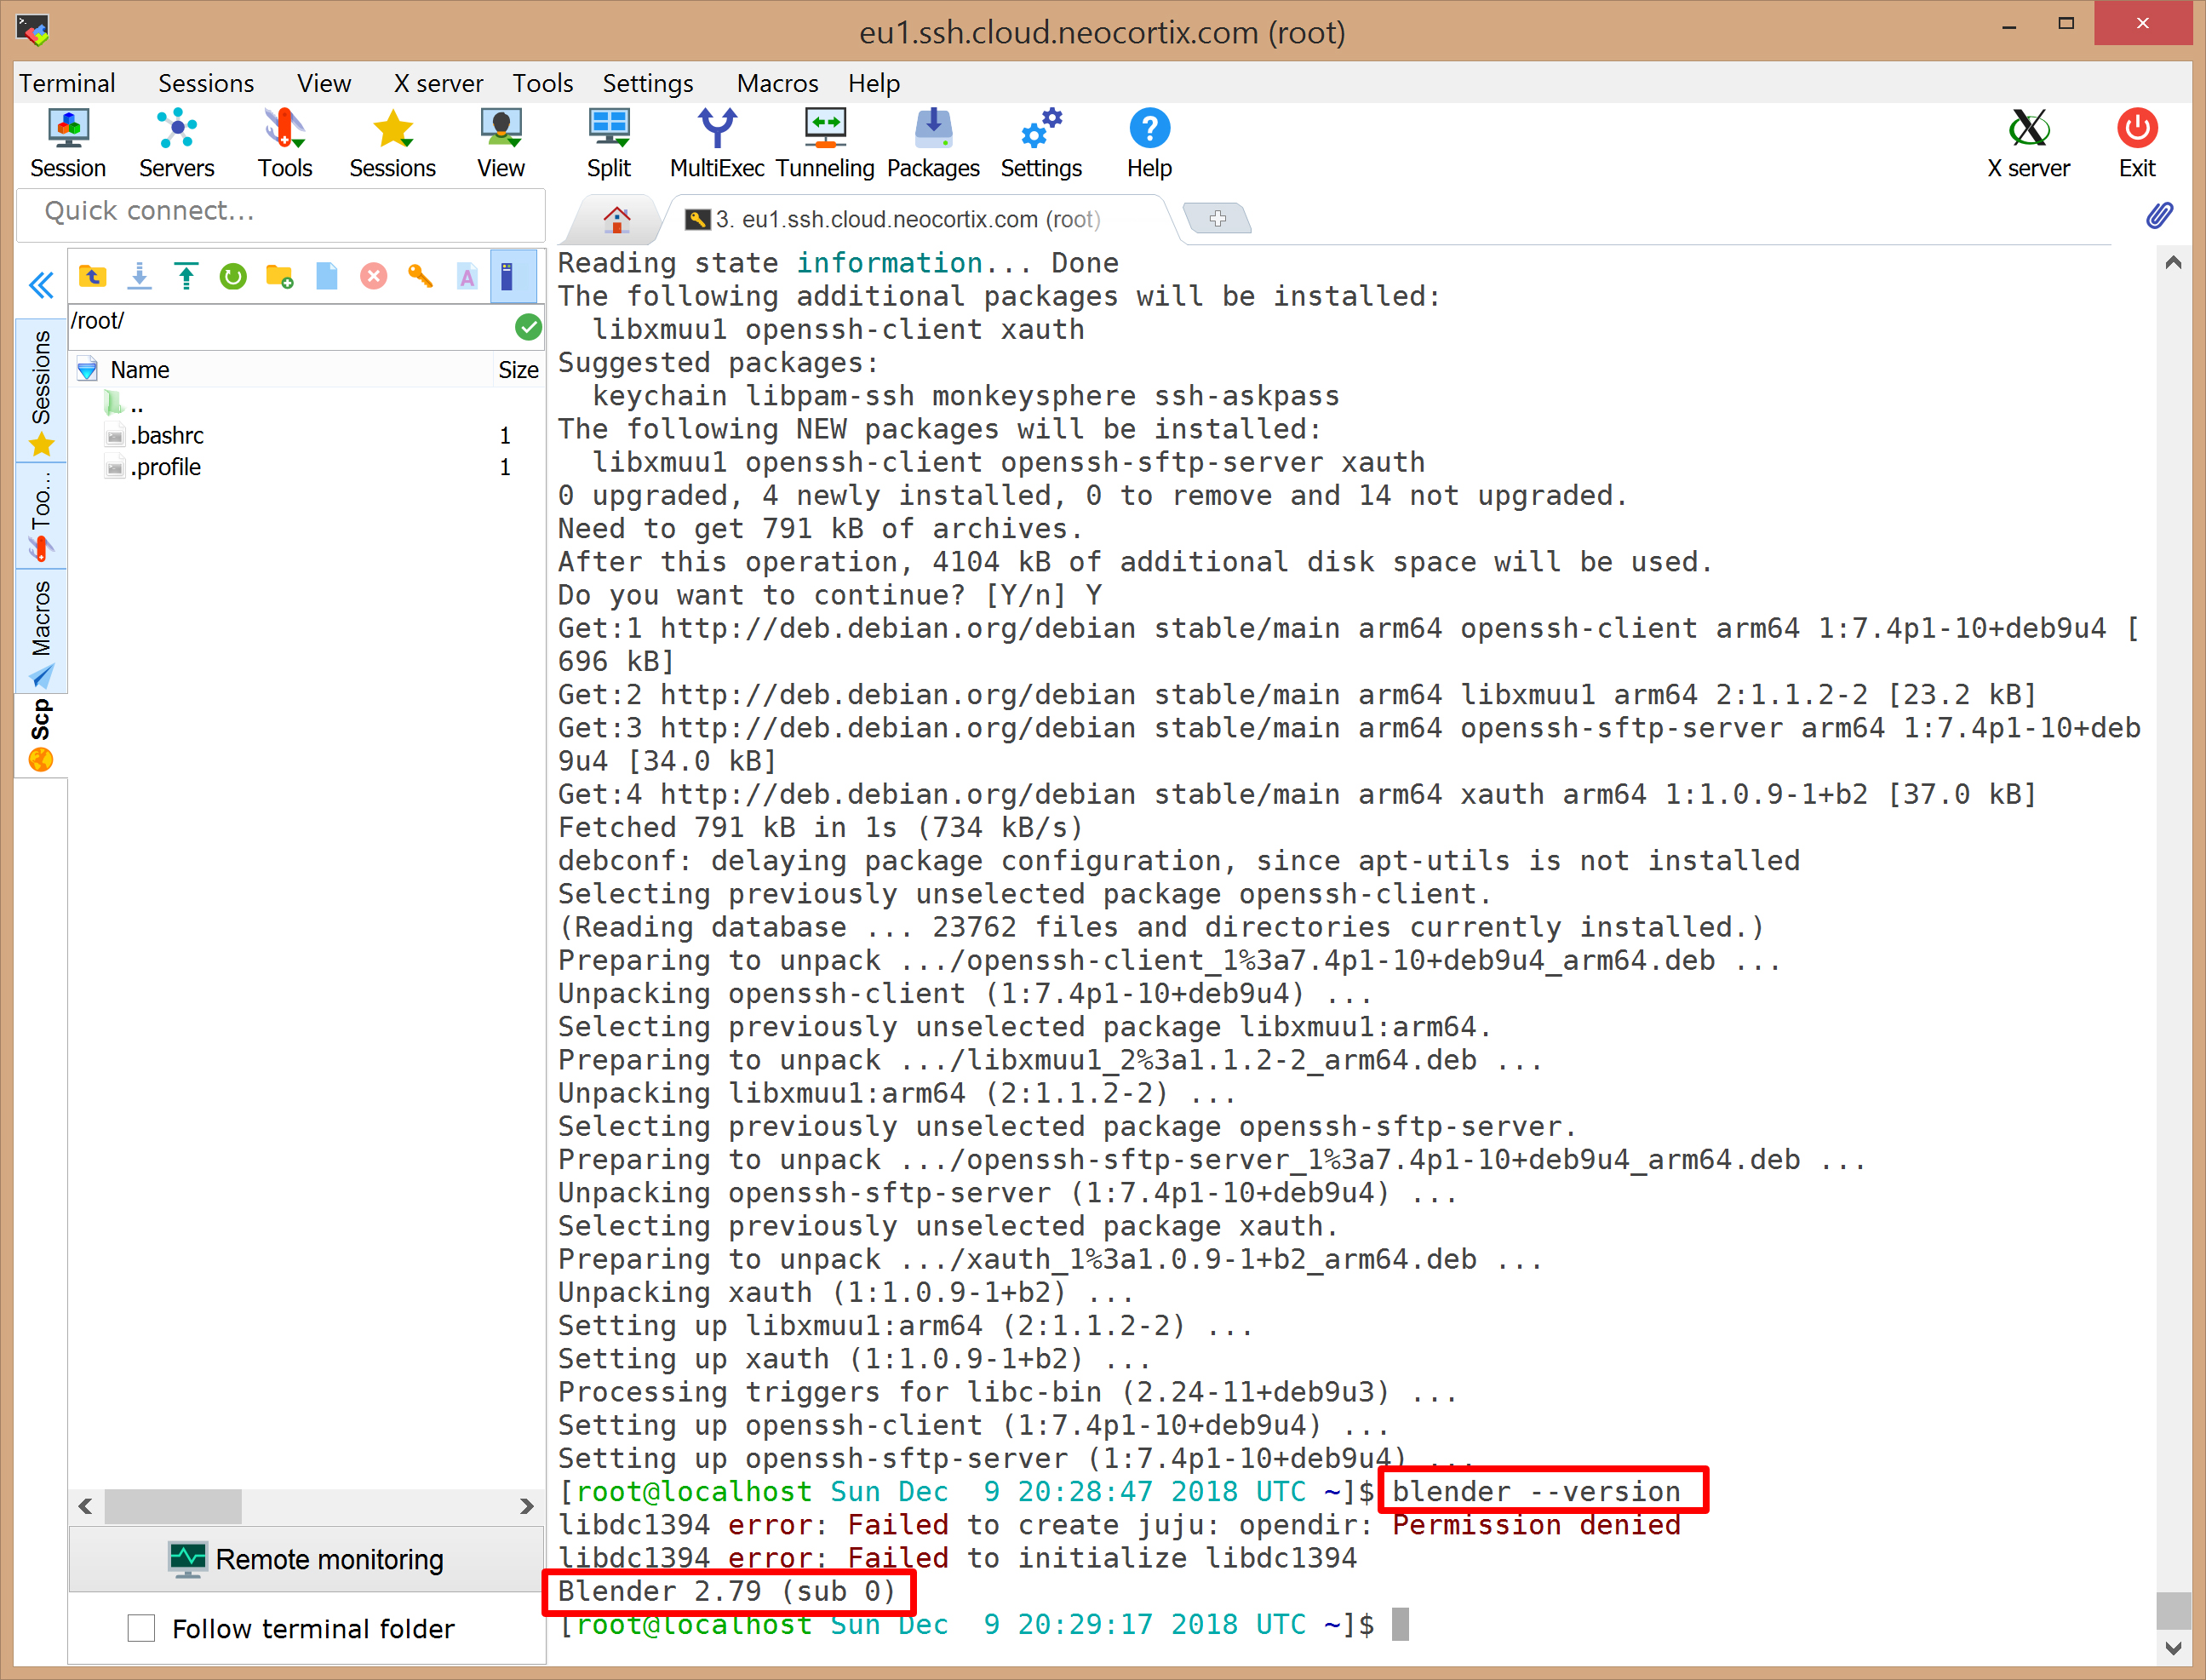
To verify that Blender is correctly installed, execute the following command:
blender --version
and it should indicate Blender version 2.79, as shown below in Red:
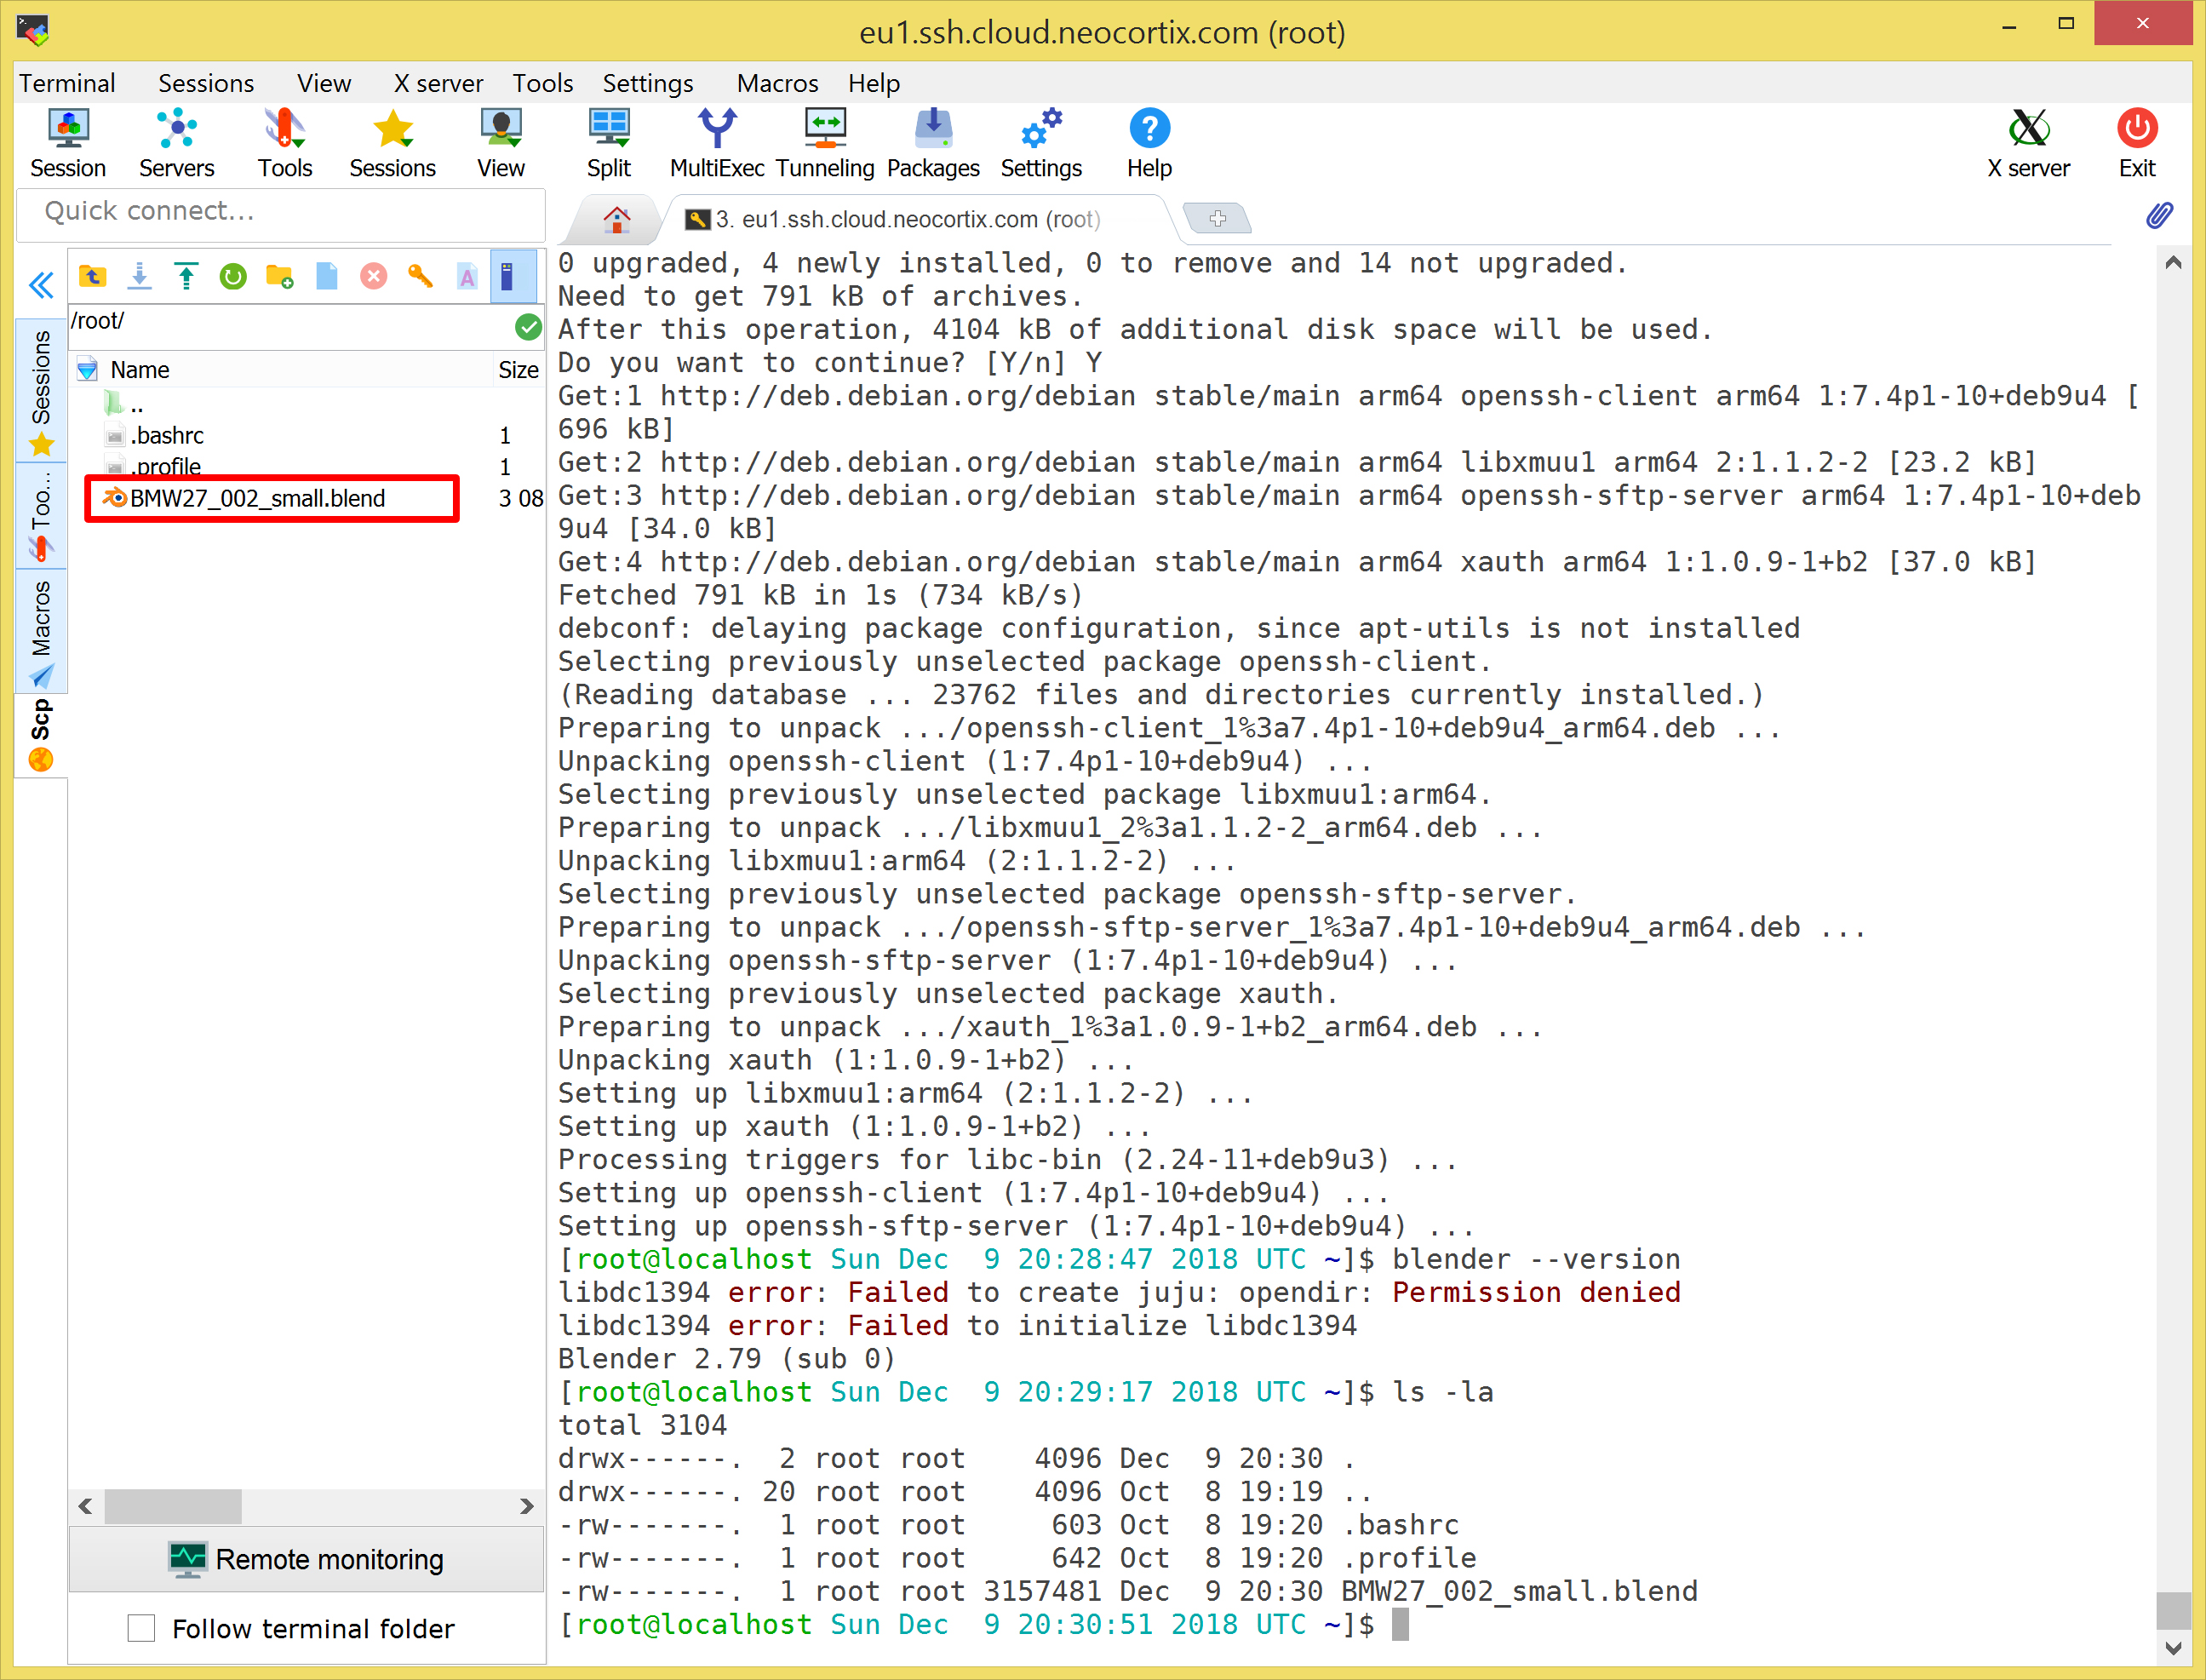
Now, you need a .blend file containing a scene for you to render. Here is a small, blue version of the classic
Blender BMW Benchmark file (BMW27_002_small.blend), suitable for a quick render test.
Right-click on the
link
and "Save link as..." to save the file to your desktop or other convenient place. Once it appears on your desktop, you can drag and drop it to the MobaXTerm left pane, as shown below in Red:
Now, execute the following command to render the scene:
blender -b BMW27_002_small.blend -s 0 -e 0 -a
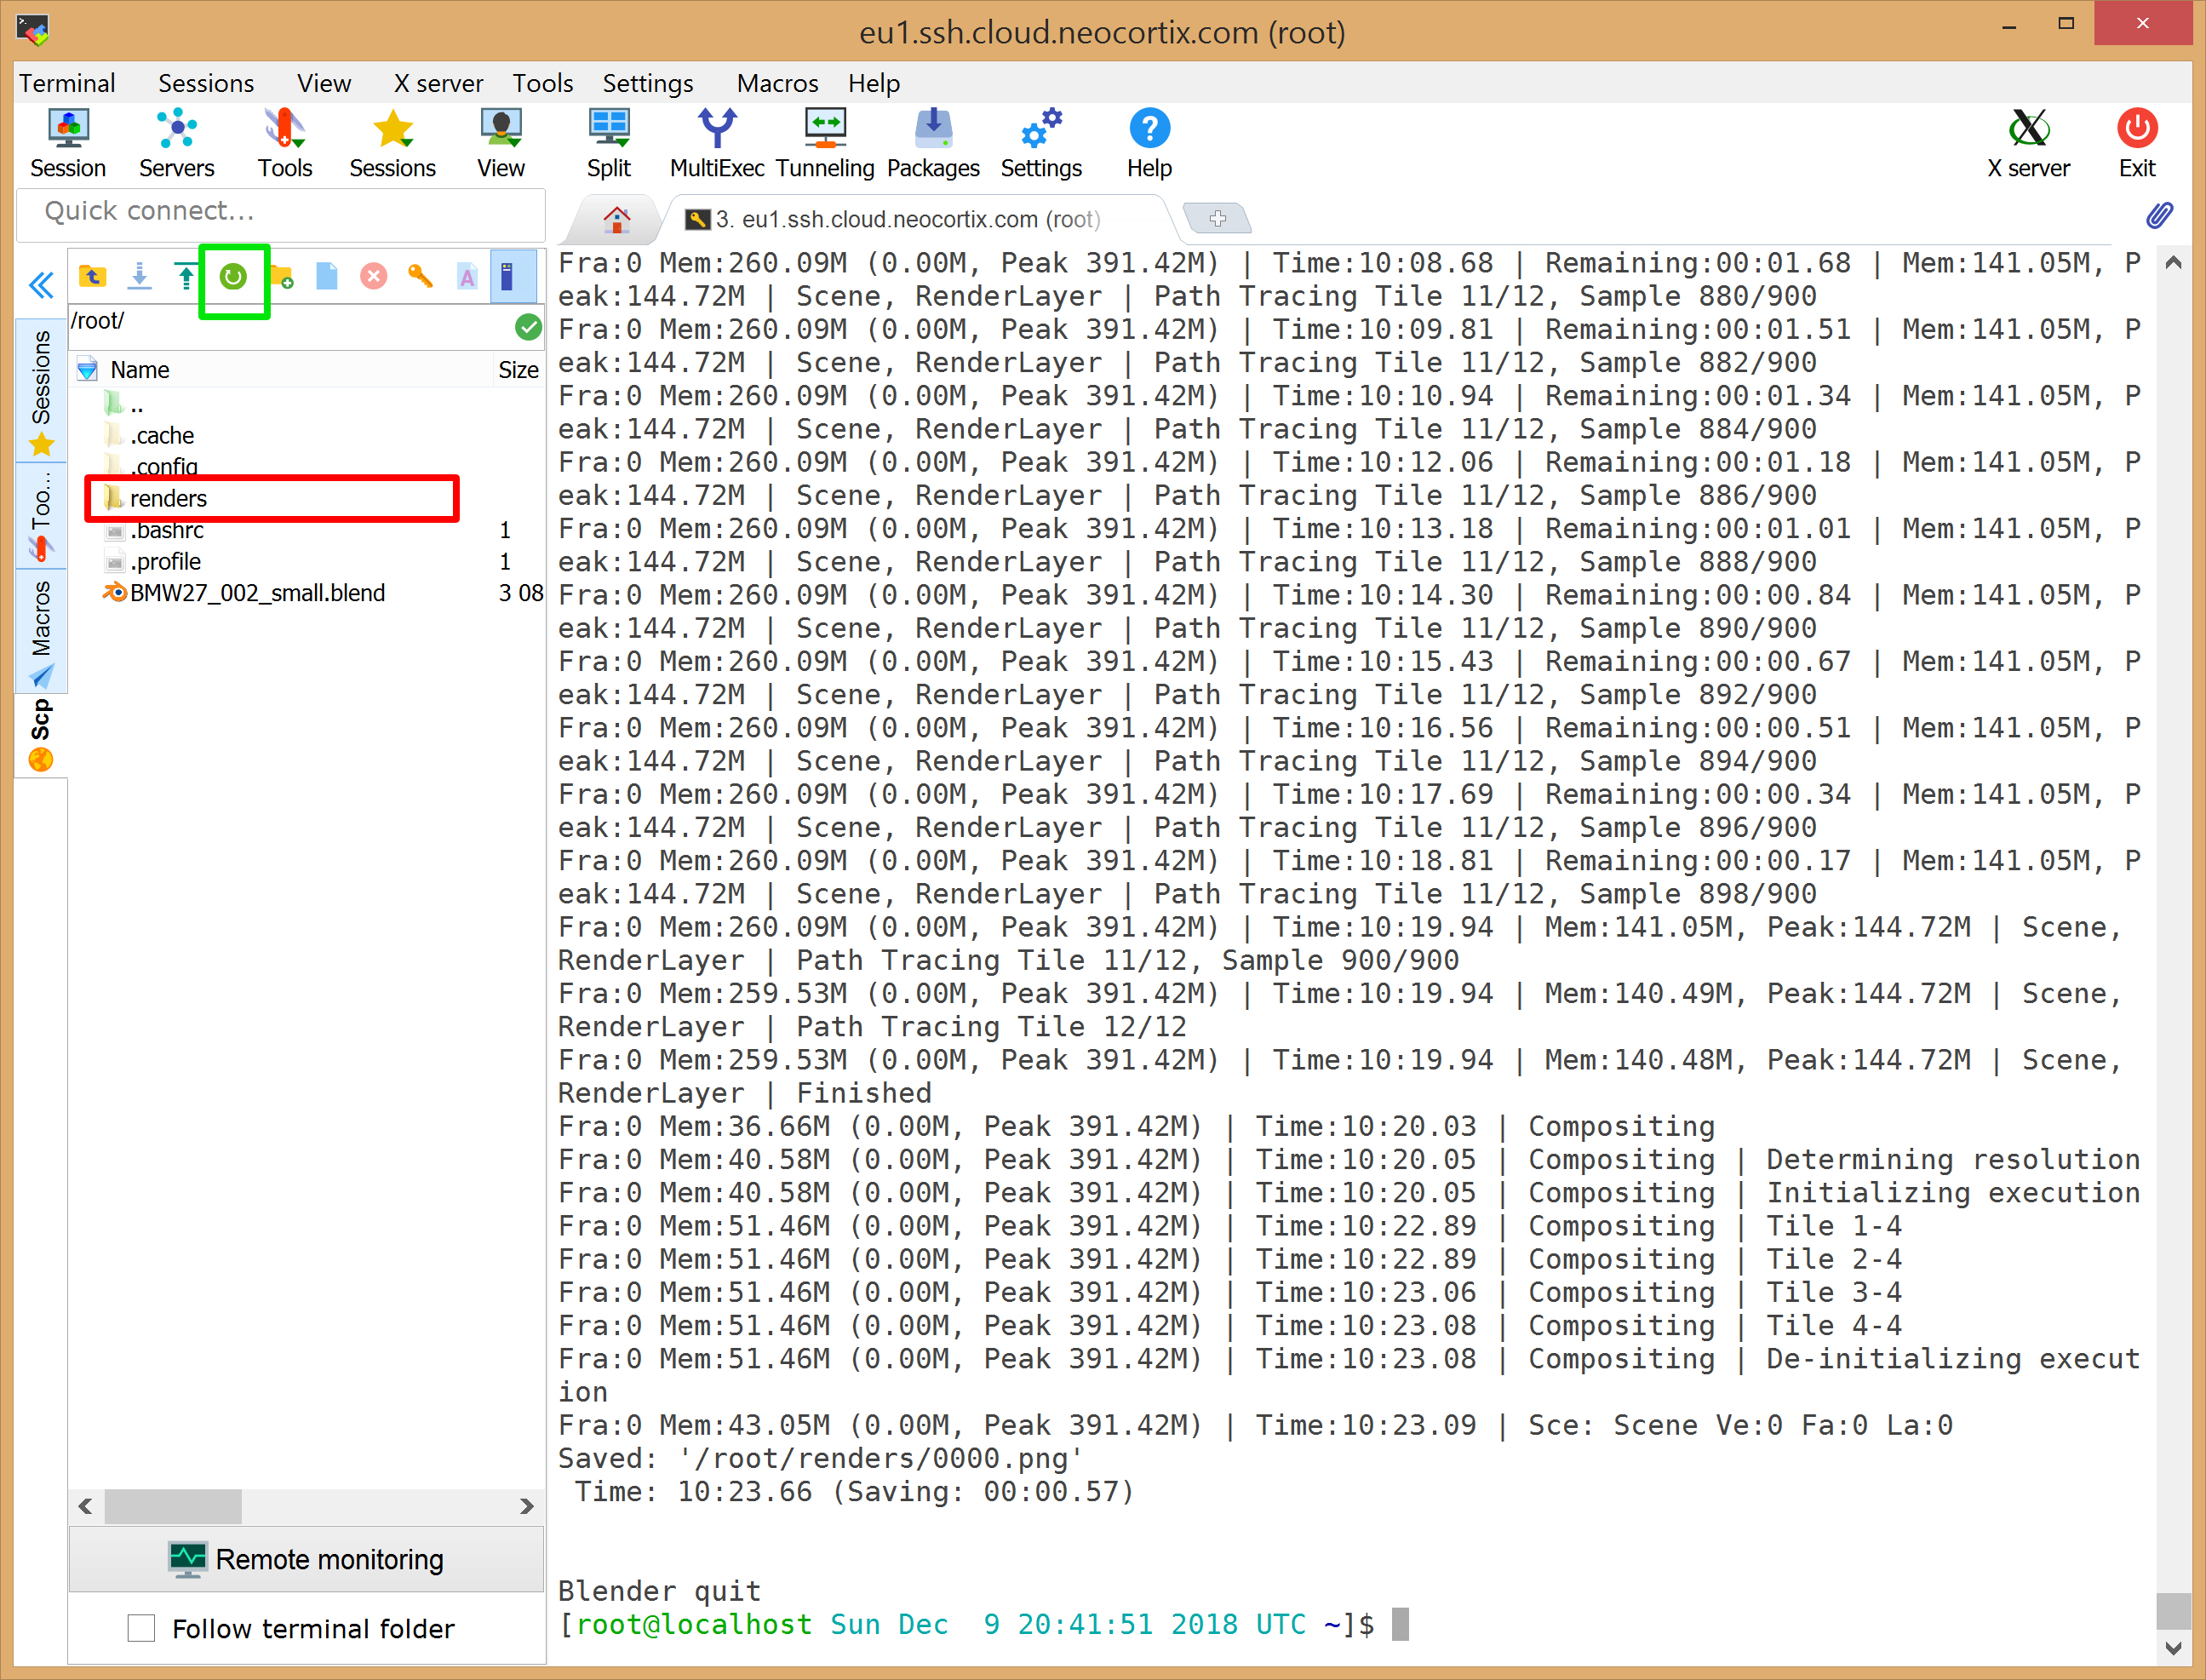
When the file is finished rendering, refresh the window to see the recently rendered files -- the refresh button is outlined below in Green). You should see a new directory called
renders
, as shown below outlined in Red:
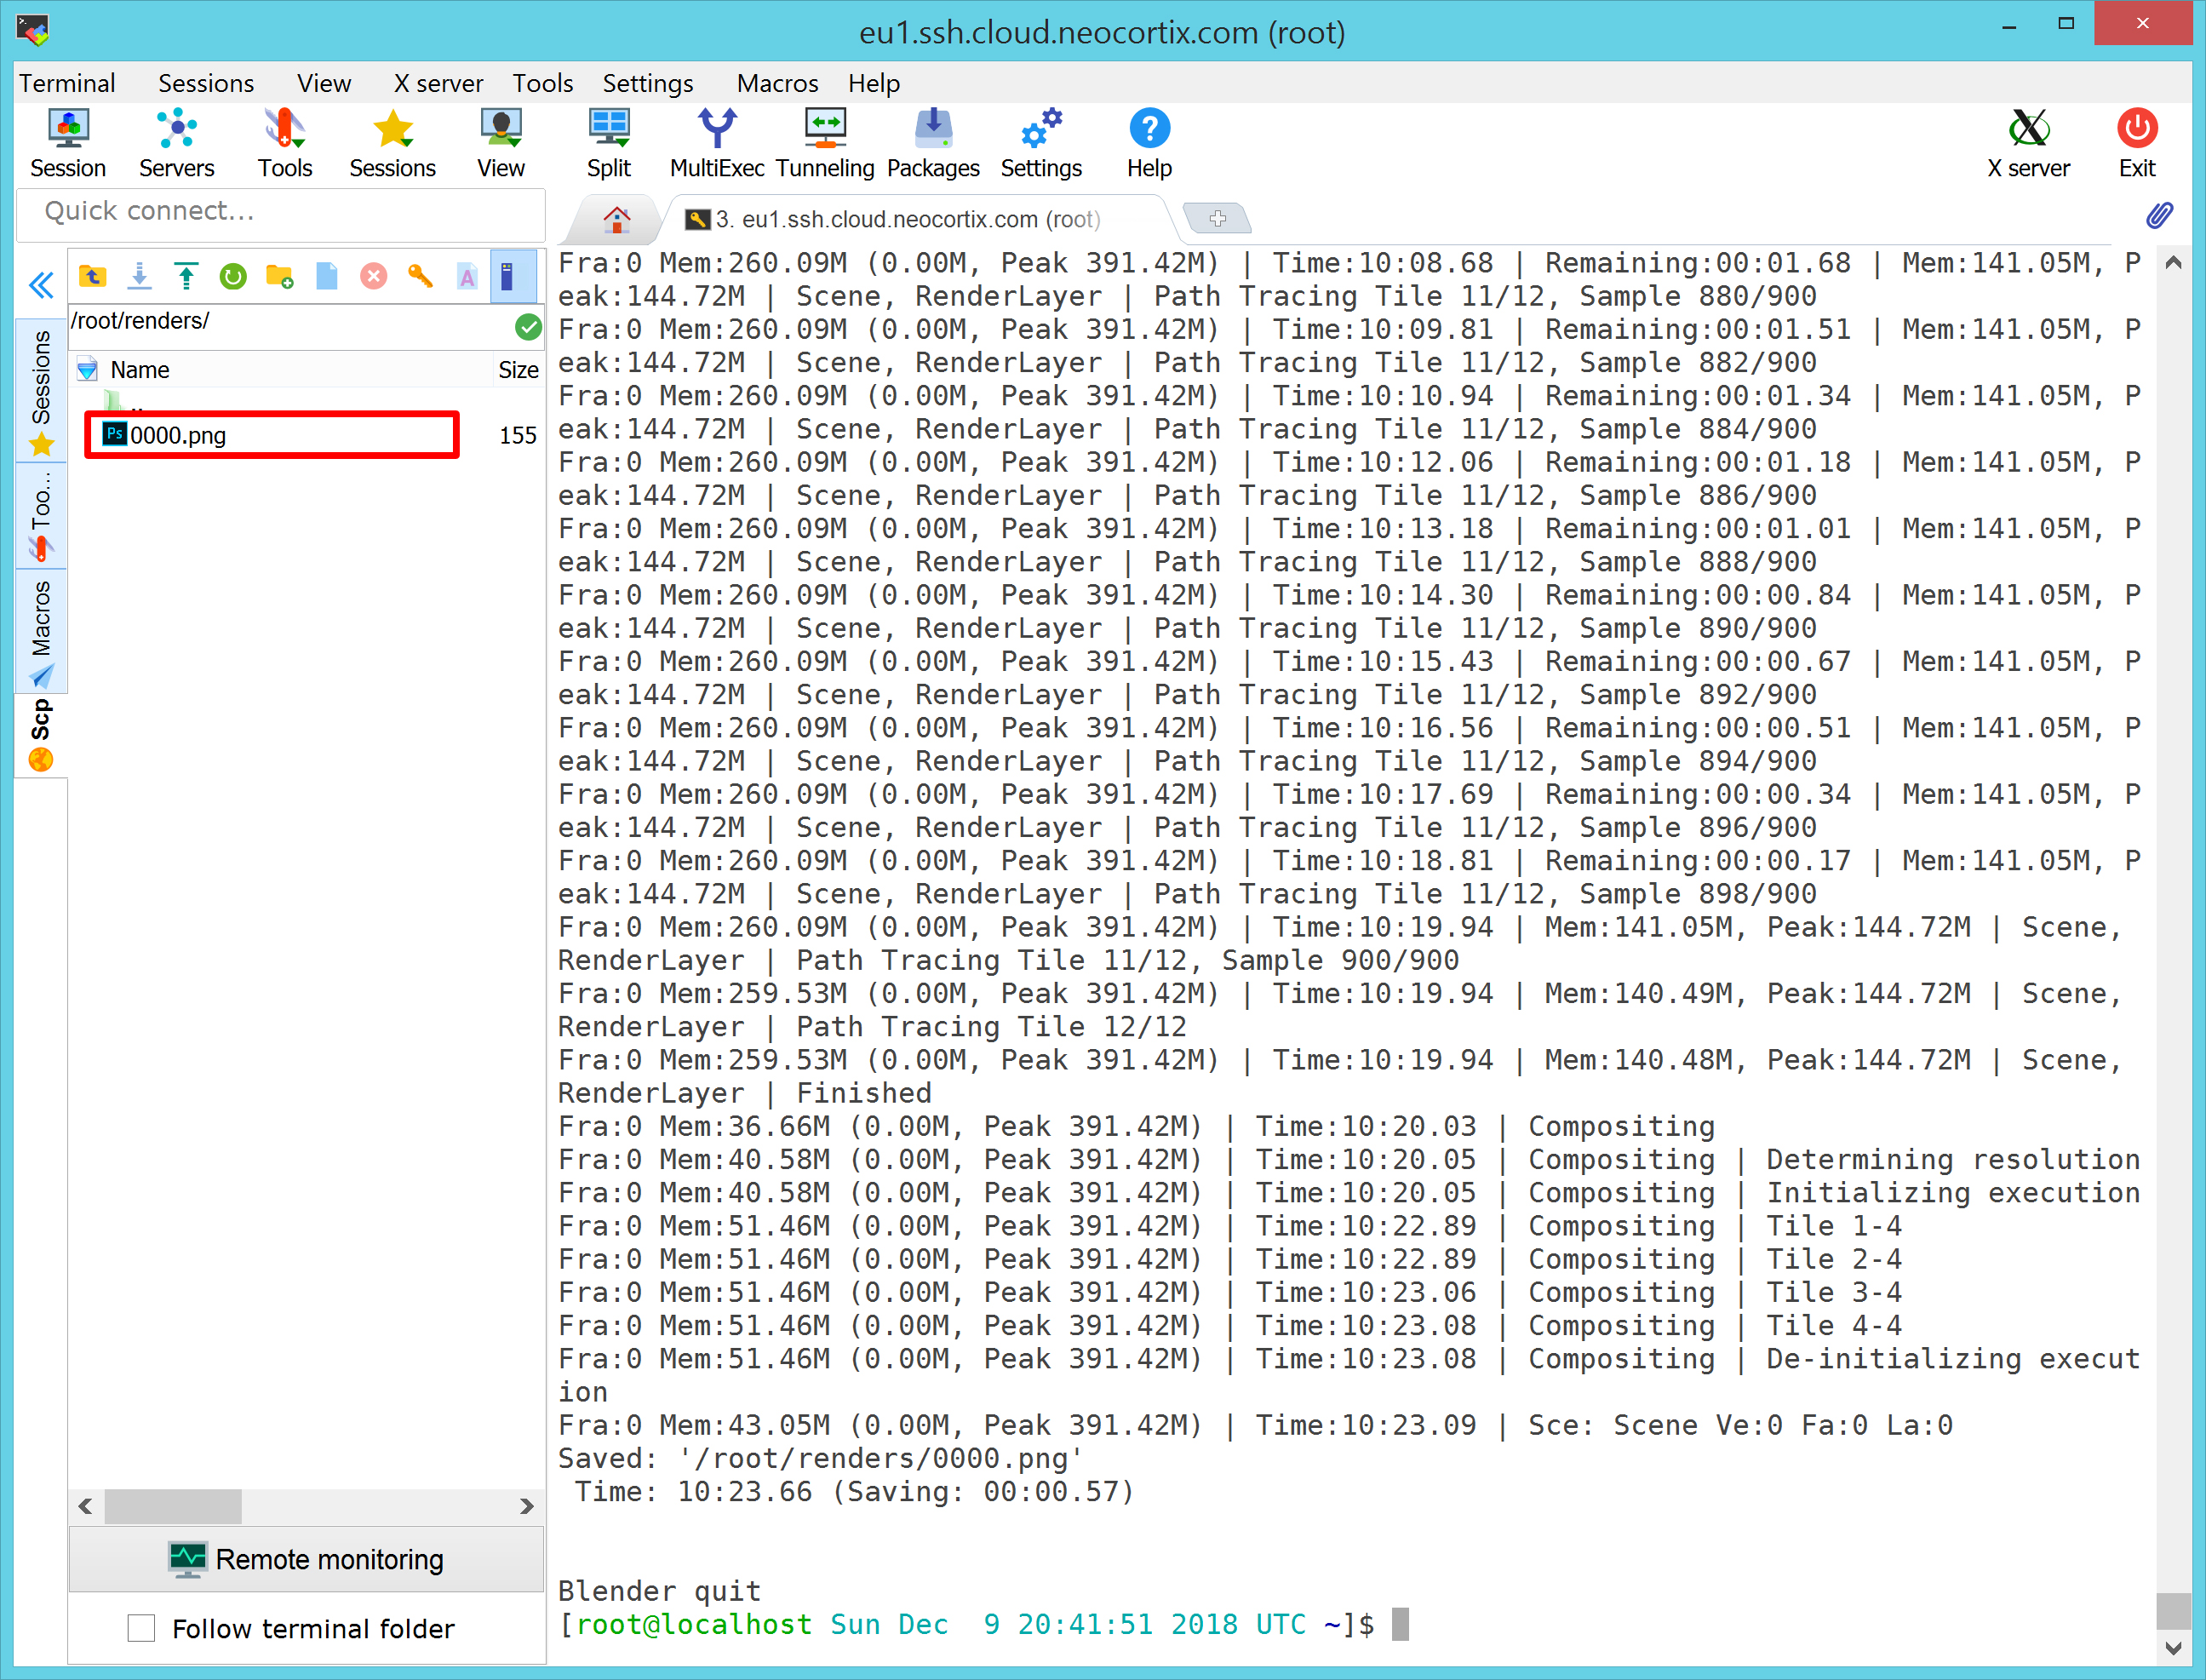
Double-click on the
renders
directory to go down into it, and you should see the rendered image file
0000.png
, as shown below in Red:
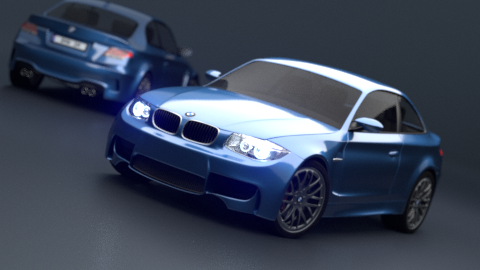
Now you can transfer that rendered image file by dragging and dropping it from the MobaXTerm file window (left pane) onto your host machine desktop, and then open it to see the rendered image:
0000.png:
Congratulations! You have rendered the image in Blender on a Scalable Compute node, and transfered it back to your host machine. Now, you may notice that this quick test image is quite low resolution, as would be expected for such a quick render time.
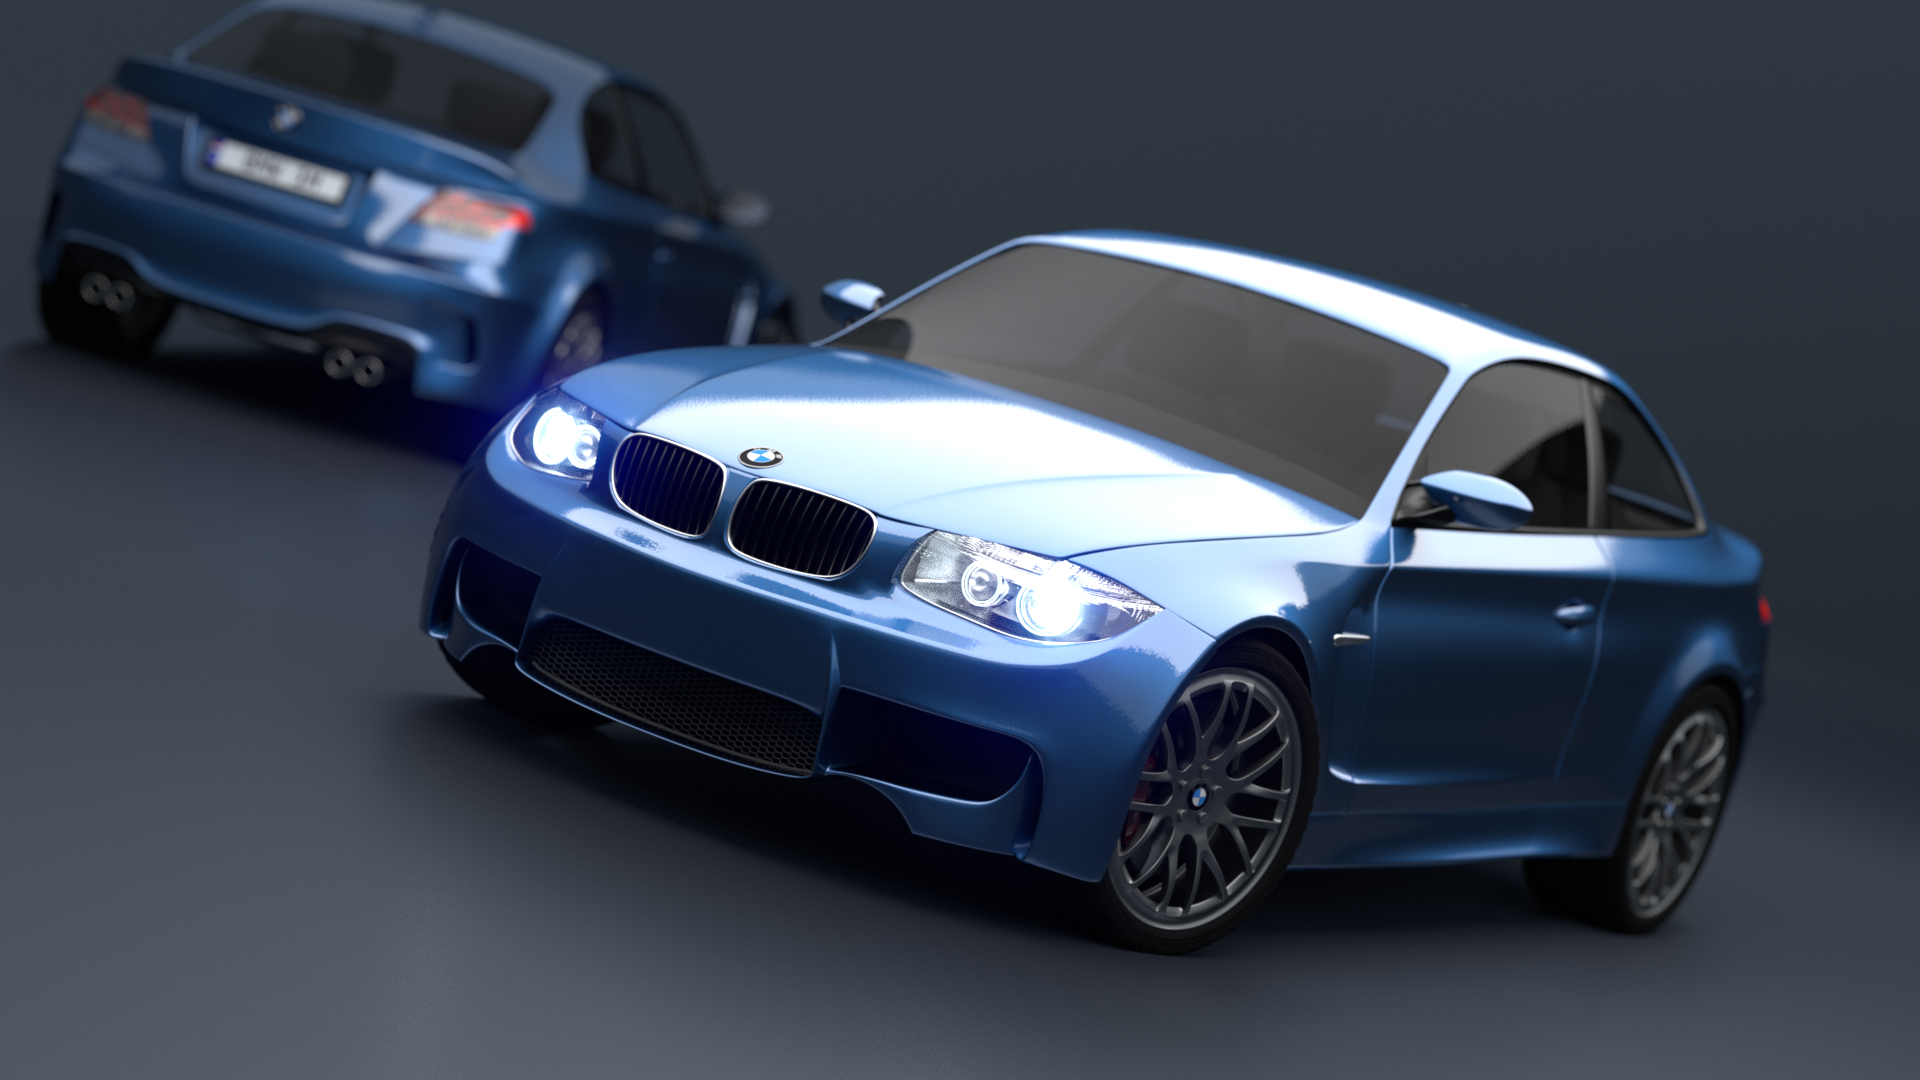
Here is a large, high-resolution version of the classic
Blender BMW Benchmark file (BMW27_002.blend). This will take considerably longer to render, so we don't suggest you render it as a part of this quick tutorial; we just show you the result below so you can see what can be accomplished with Blender on a Scalable Compute node:
When you are finished with this tutorial, don't forget to exit your terminal session by using CTRL-C or issuing the logout command. And then be sure to terminate your device session and stop the billing by clicking the Stop button the Scalable Compute Web Interface page, as shown below.
Congratulations! You have just used a Scalable Compute node to render a small test image using Blender. In the next tutorial, you will learn how to render the frames of an animation using Blender on many Scalable Compute nodes.