In this tutorial, we will show you how to set up your Neocortix Cloud Services account.
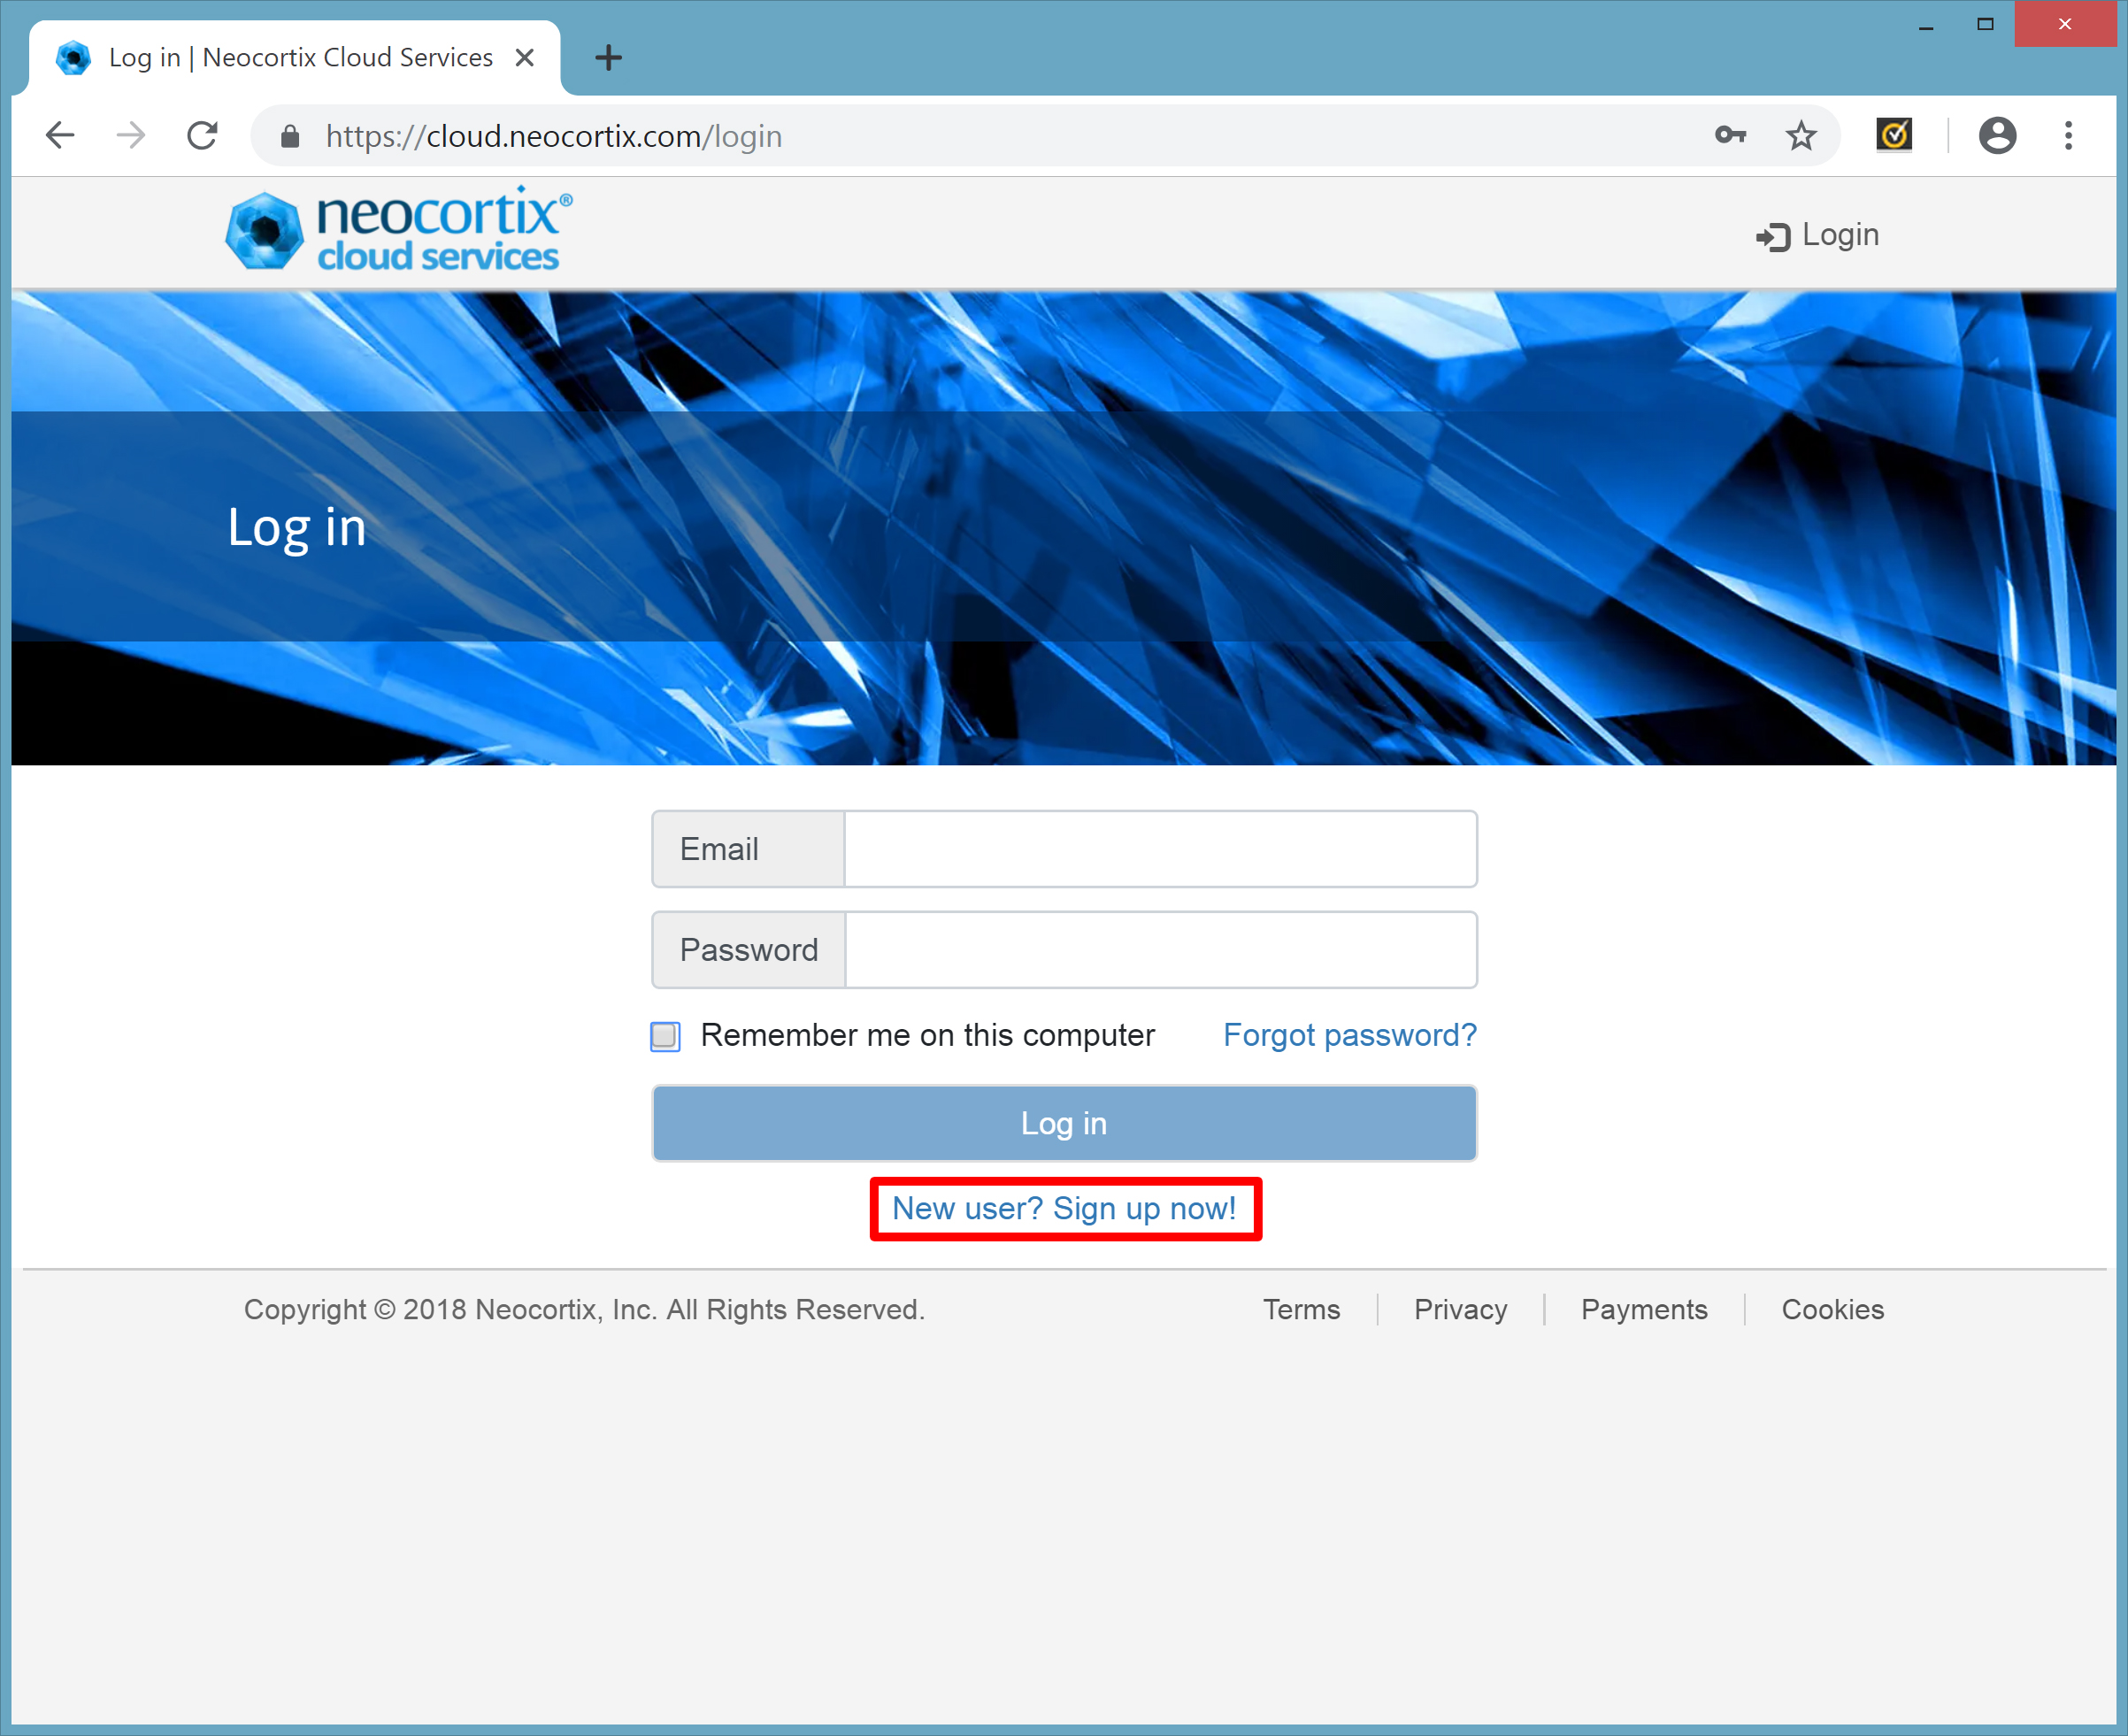
First, go to the Neocortix Cloud Services page, at https://cloud.neocortix.com. Since you are a new user, you will need to create an account. Click on the link outlined in Red below:
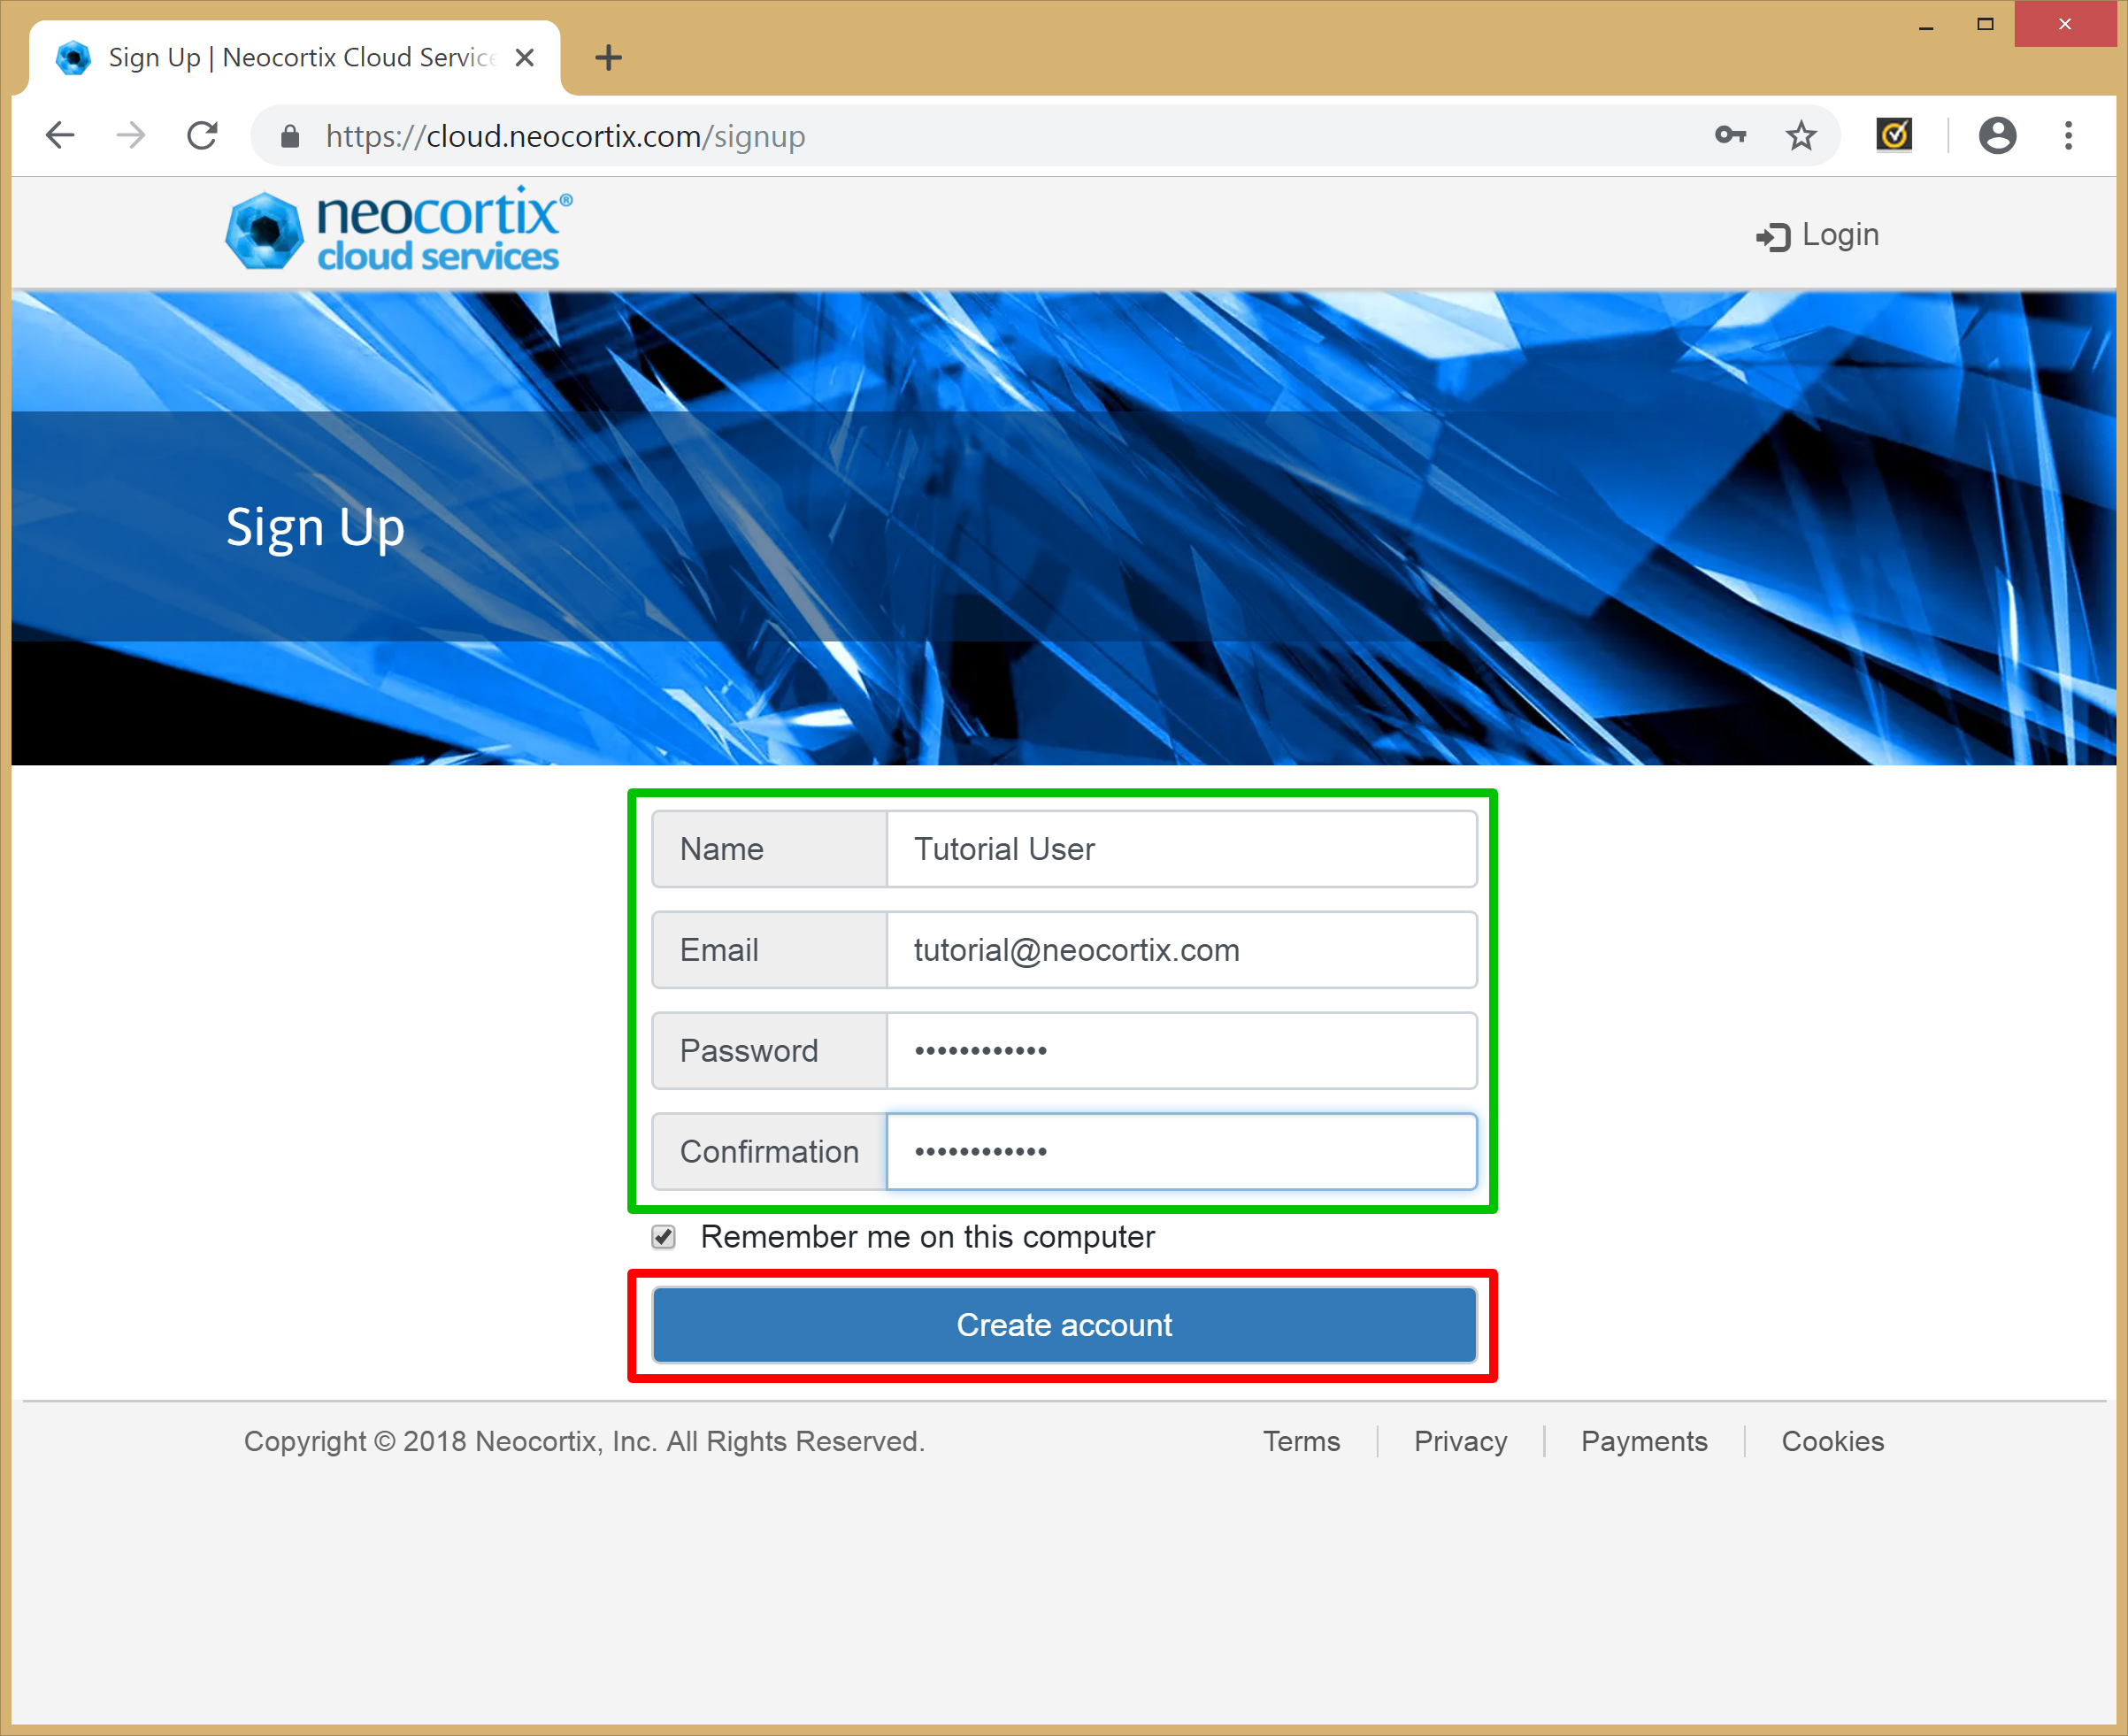
This will take you to the SignUp page (below). Fill out your Name, Email Address, and enter your Password twice as shown outlined in Green below. Please make a note of your Password, as you will need it to log in again after you log out. Then click on the "Create account" button, as shown in Red:
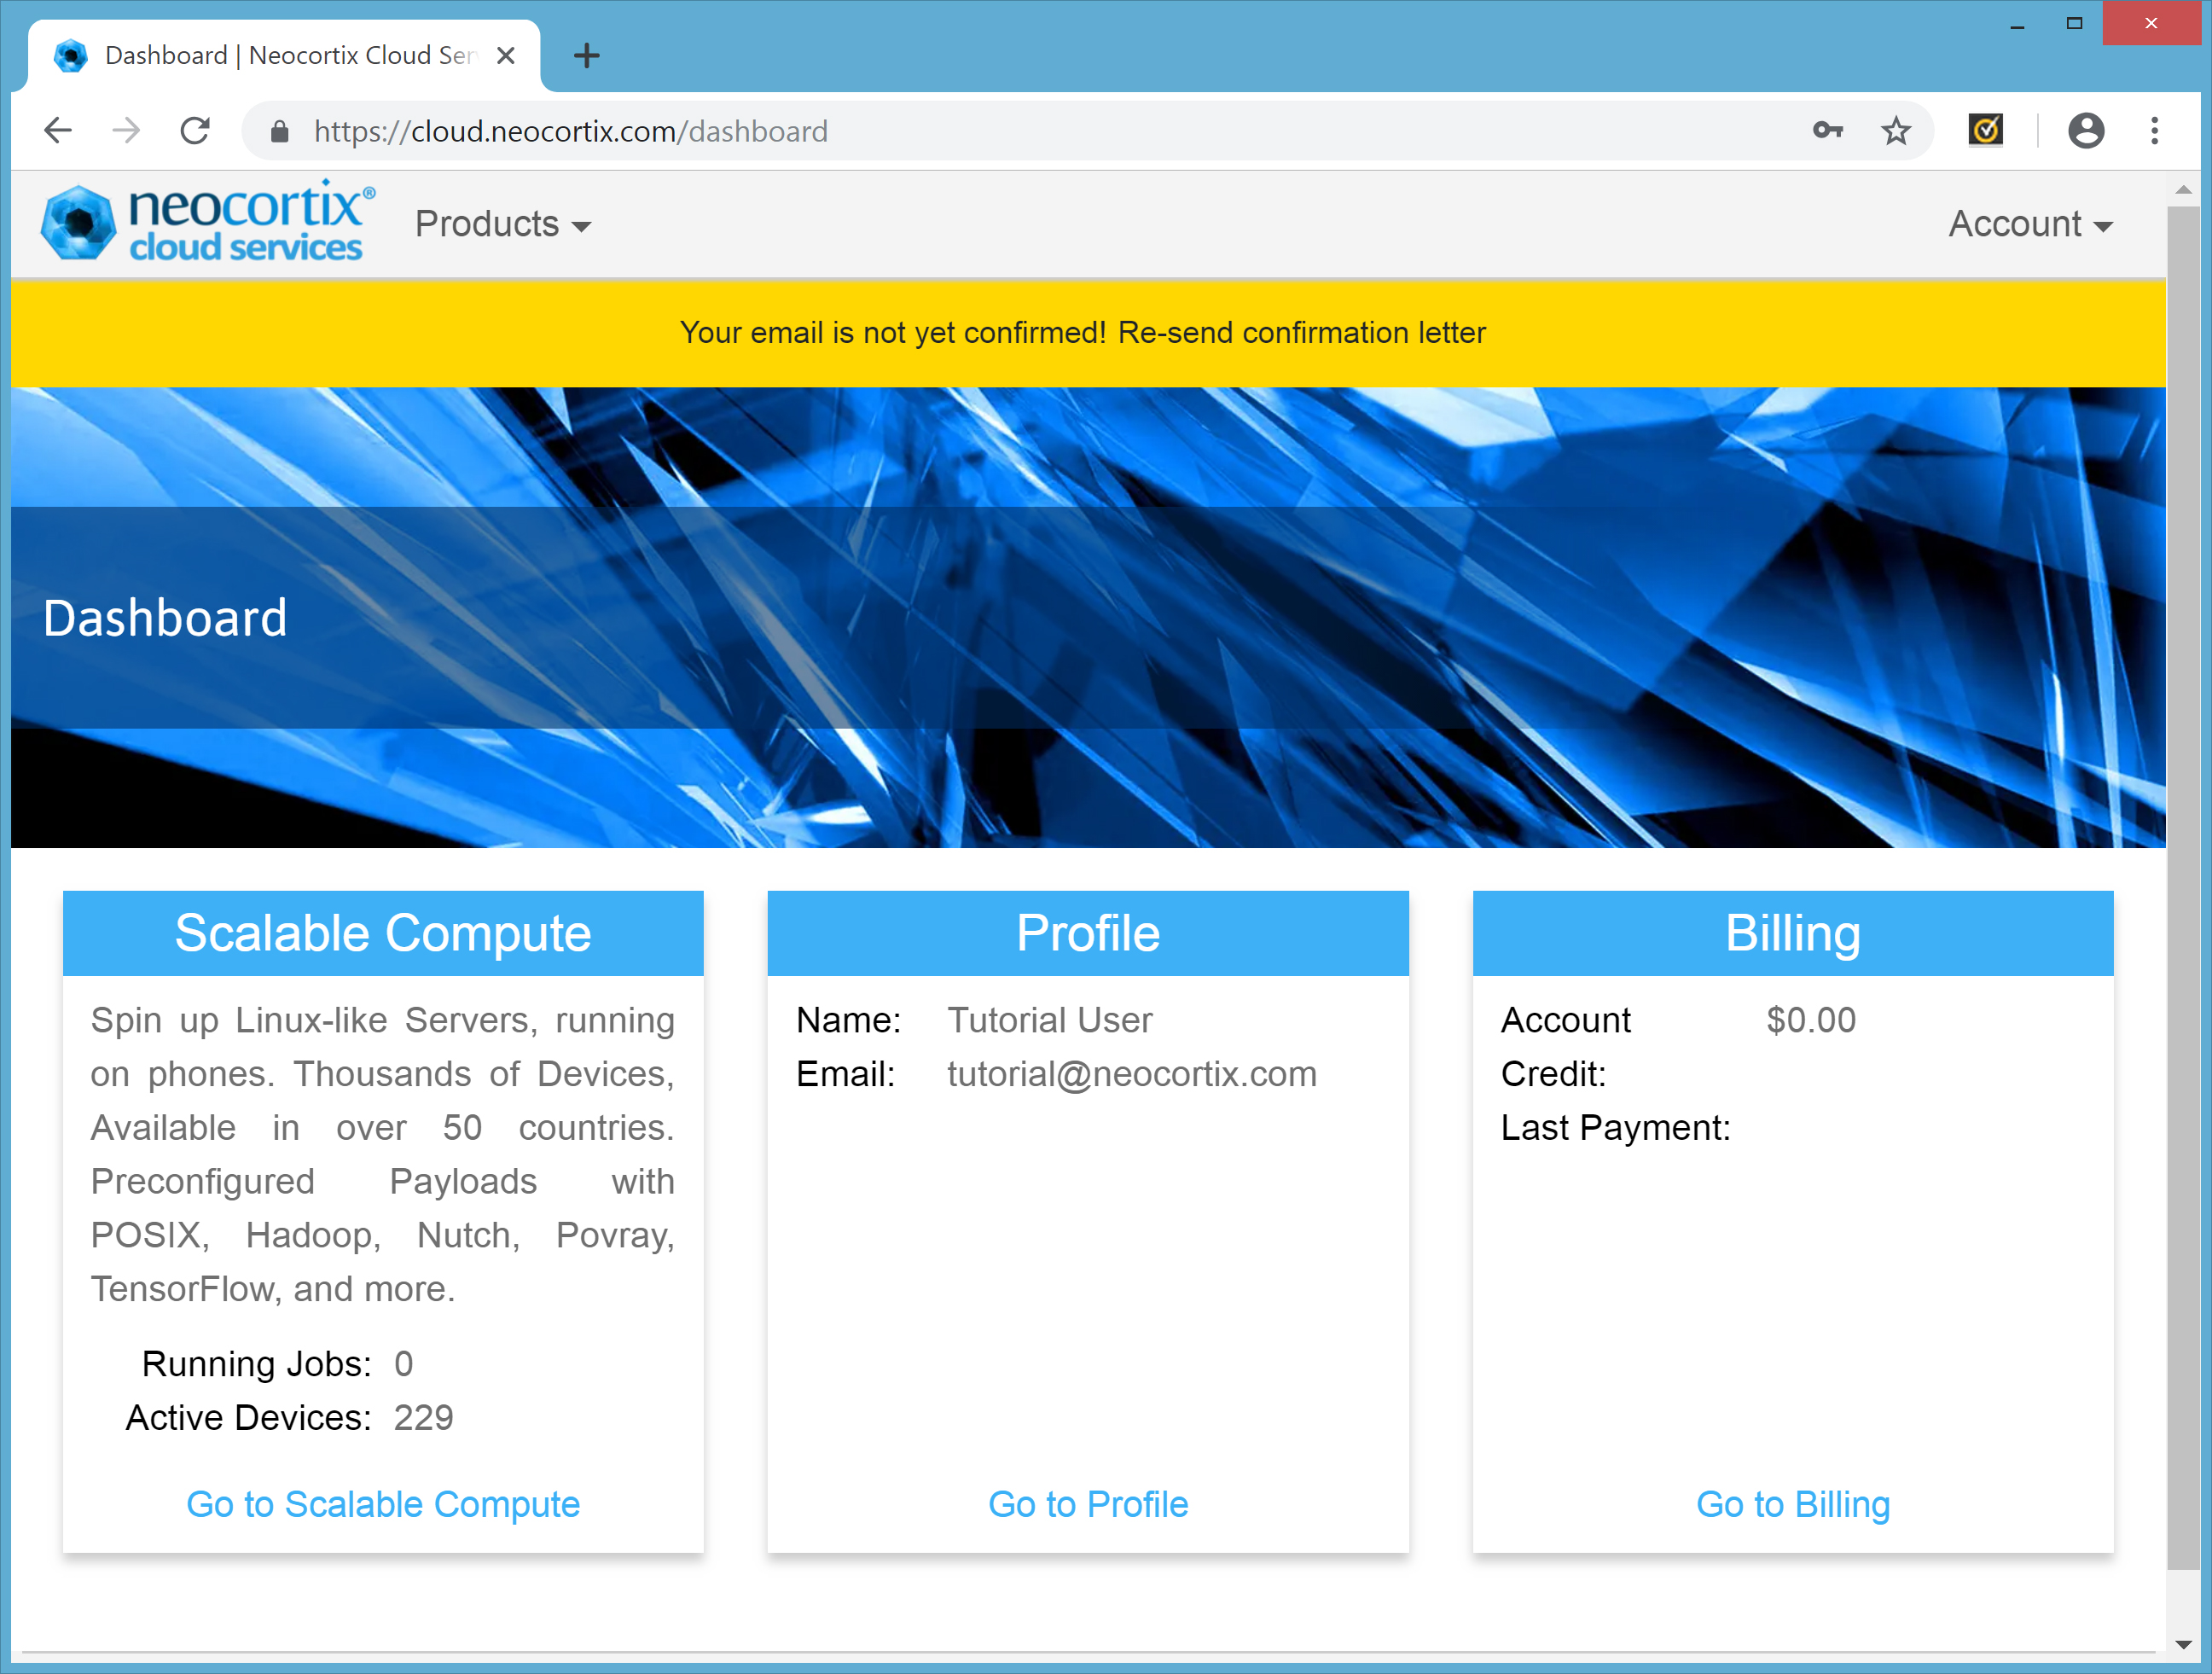
This will take you to the Dashboard page (below). But your email is not yet confirmed, as shown in the yellow warning message.
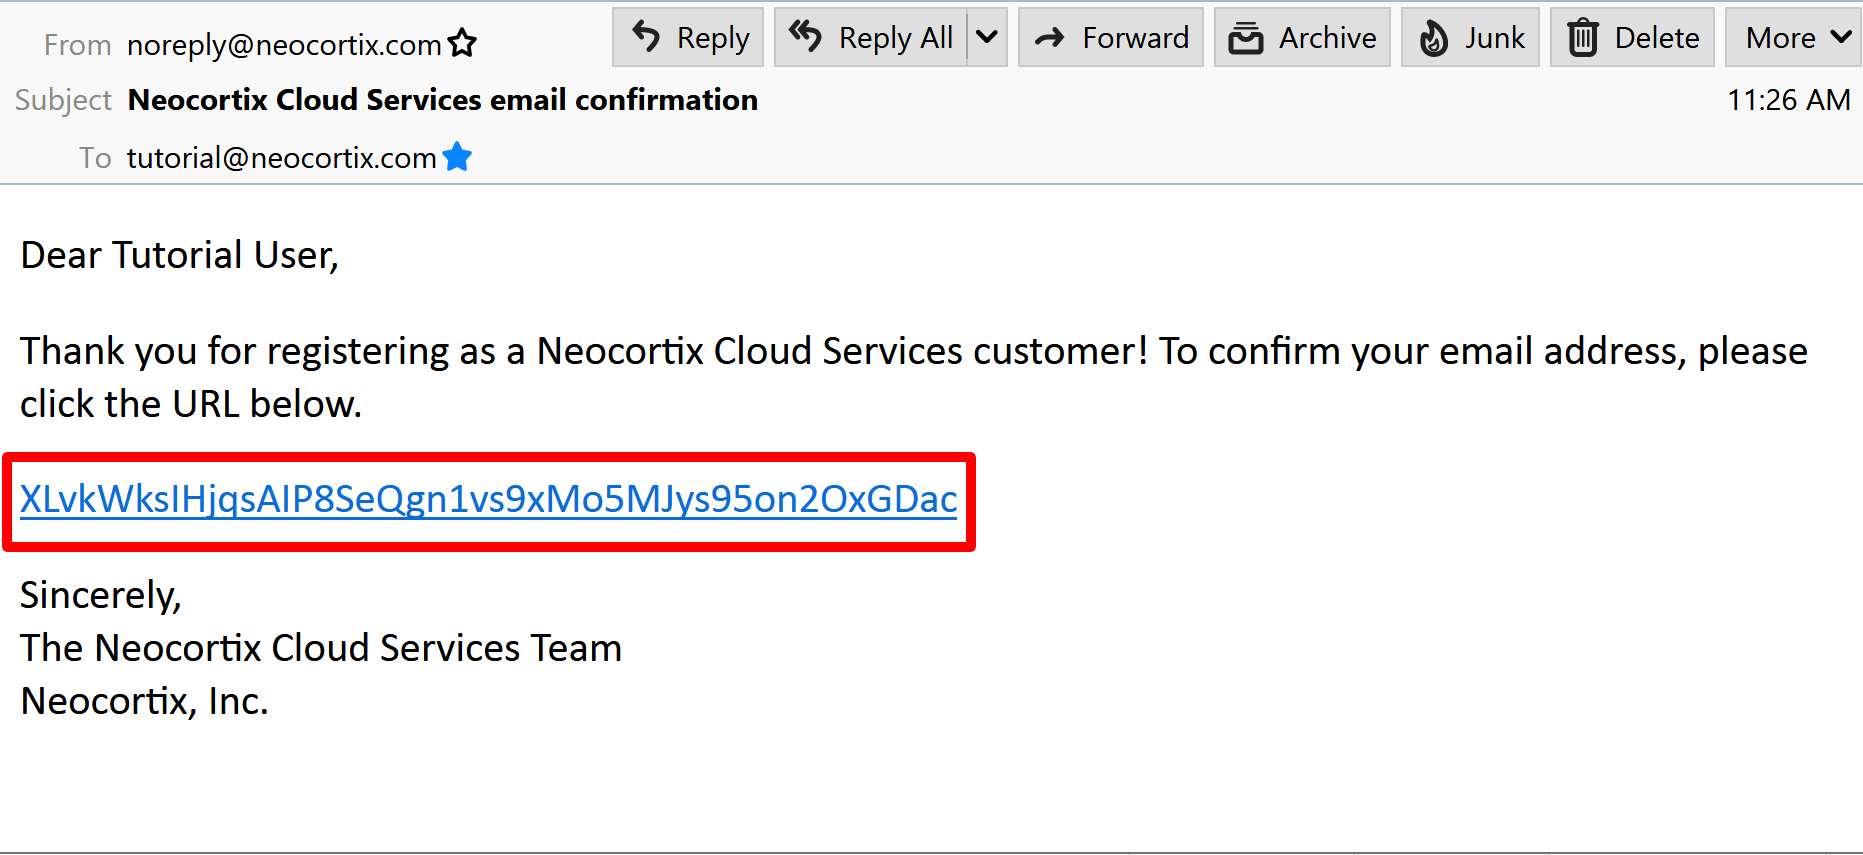
Go to your email viewer, and you should see an email from noreply@neocortix.com with subject line "Neocortix Cloud Services email confirmation". Open up that email, it should look as shown below. Click on the link, as outlined in Red:
Then go back to your browser showing the Dashboard page. It should now show the Dashboard with a new yellow warning, as shown below. At this point, you have created your account and confirmed your email. Now Neocortix needs to approve your account for Beta Customer access.
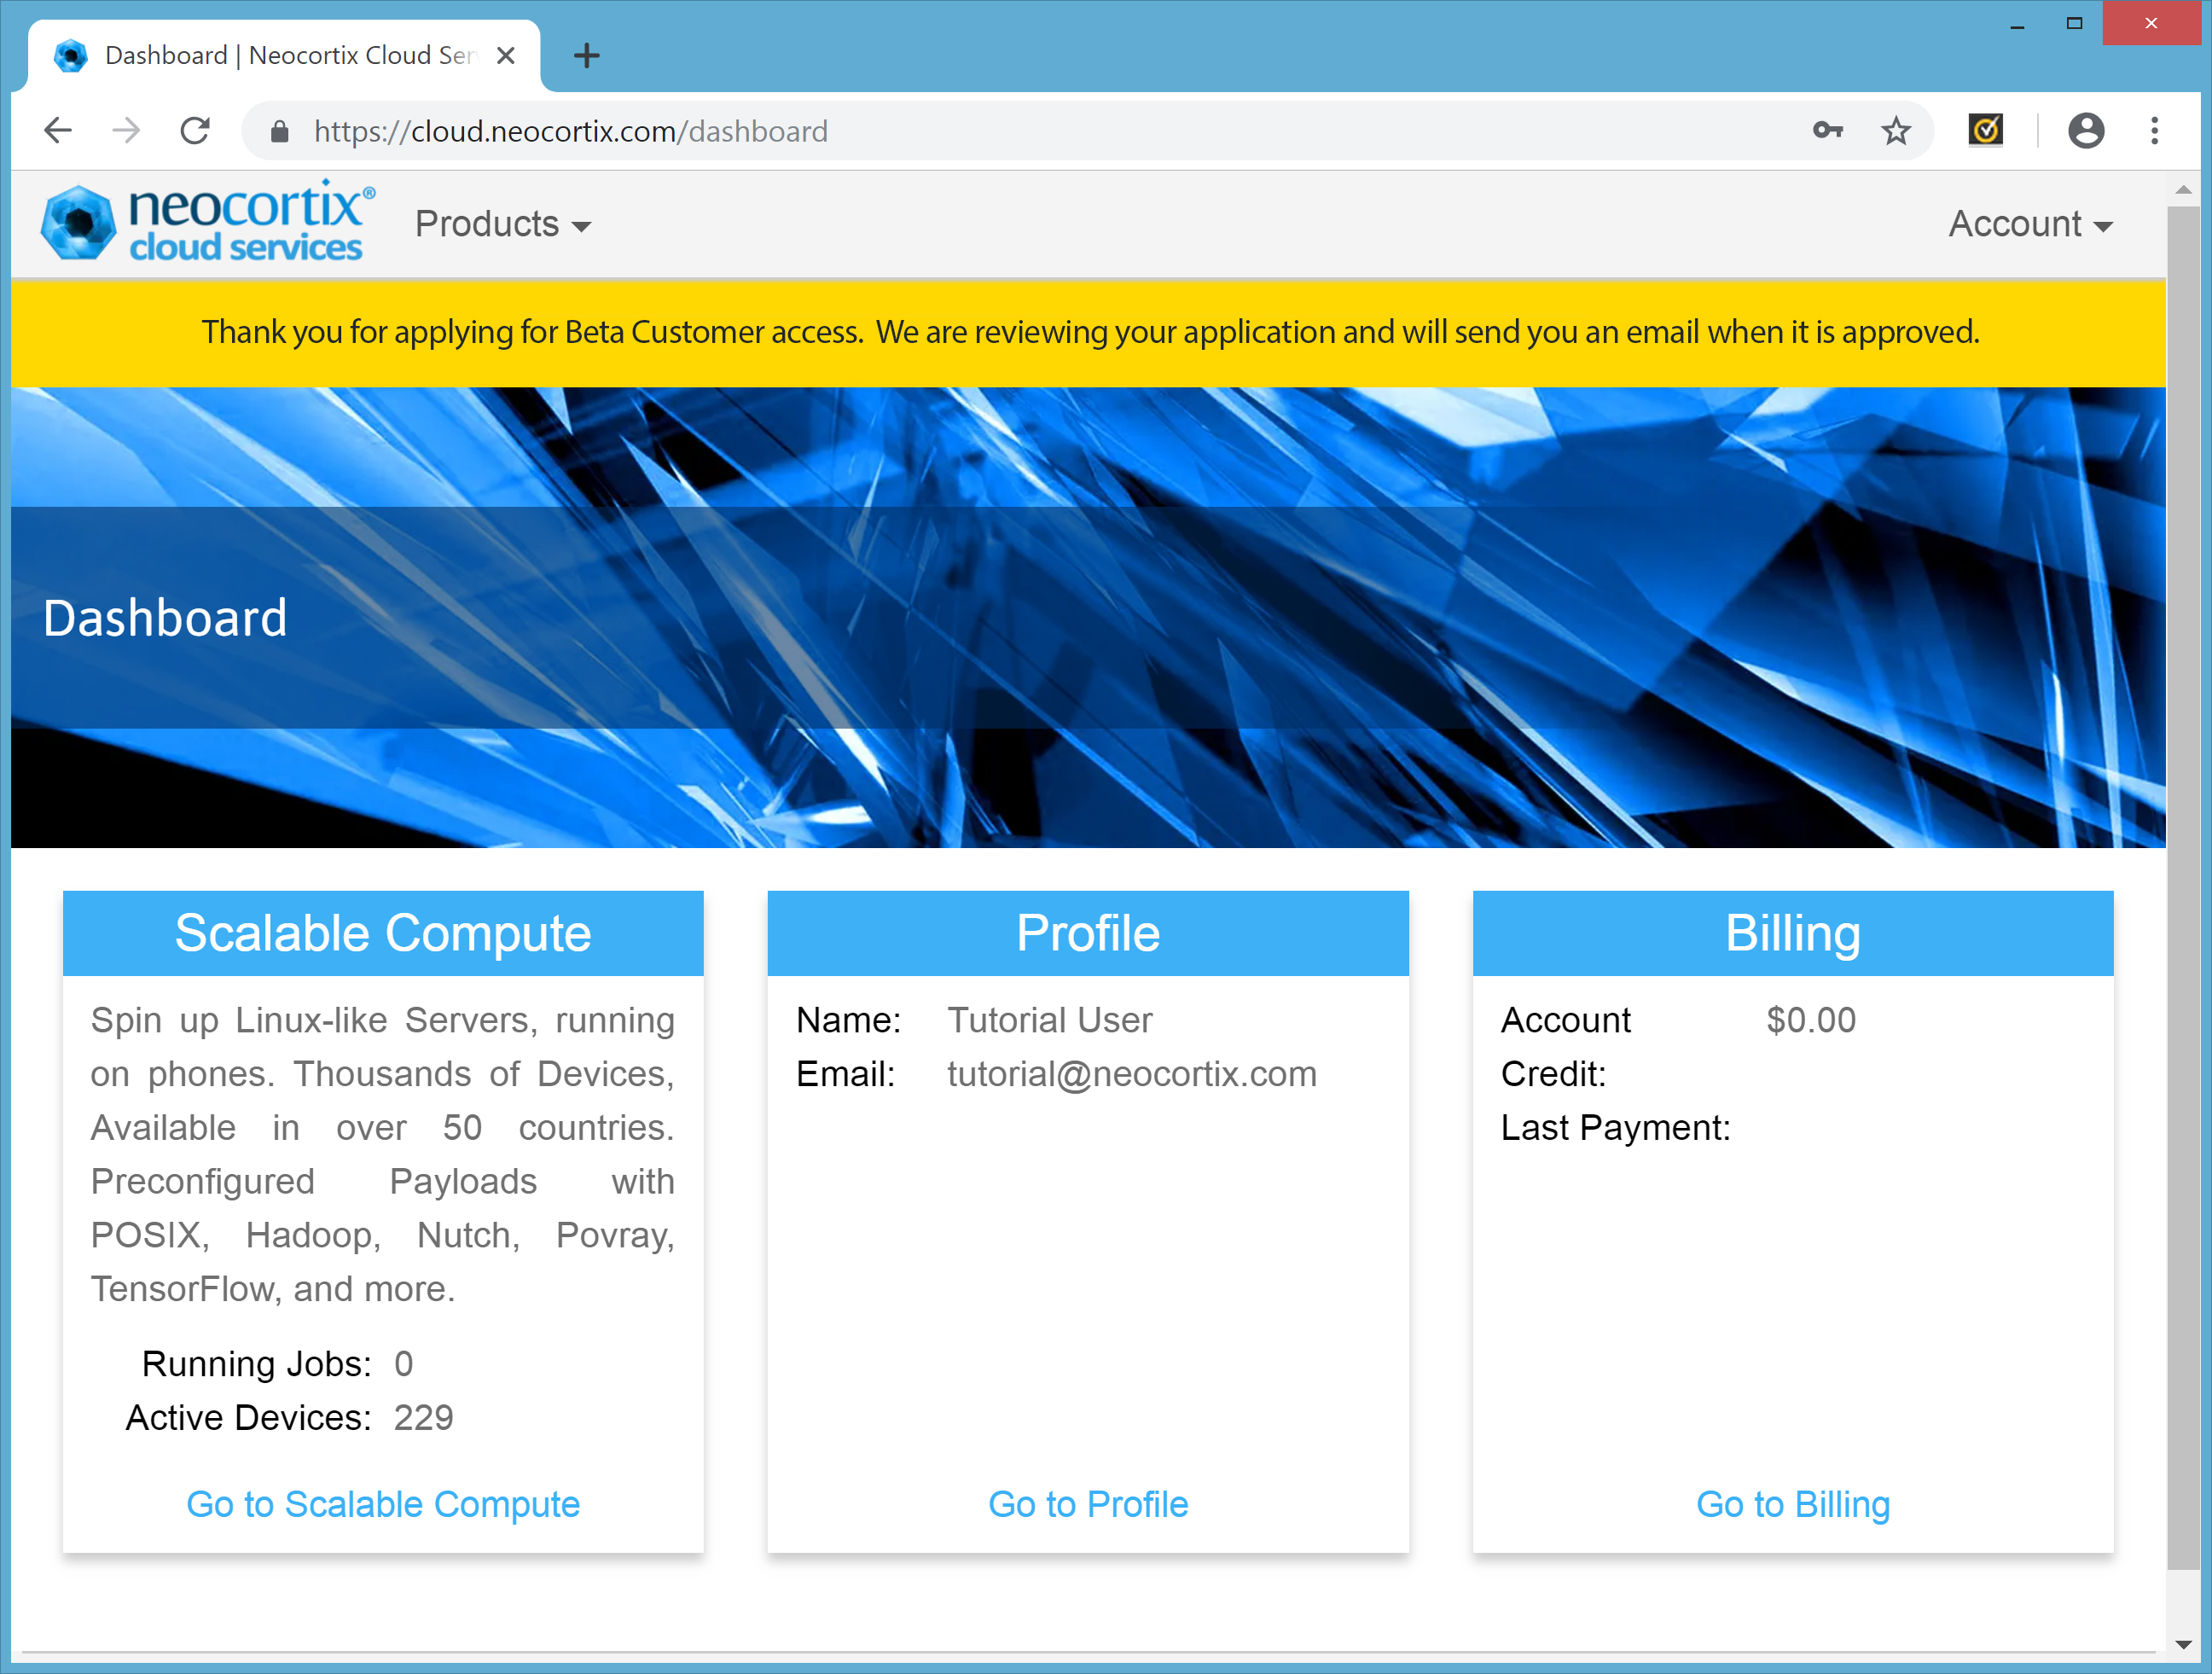
We will approve your account for Beta Customer access as soon as possible. When your account is approved, we will send you an email to know that it is done. And then, when you return to the Dashboard page, you will see that the yellow warning has been removed.

Congratulations, you have set up your Neocortix Cloud Services account, and your account is approved for Beta Customer Access!
In the next Tutorial, you will learn how to Launch a single Scalable Compute node using the Web Interface.